In this section of the lab, you will create variables in your GitLab project for your CXTM API Key and Host IP to be used in your pipeline. The CXTM related variables that you create in this section will be used by the cxtm-mgr client in your pipeline. cxtm-mgr is a websocket client designed to simplify websocket connections with CXTM. Through cxtm-mgr, you will instruct CXTM to execute the batches of test cases that you created earlier in the lab and allow GitLab to display the test case results directly in the pipeline.
The first thing you need to do before creating variables in GitLab is generate your CXTM API Key. Your CXTM API key will then be used as a secret environment variable in GitLab that you will access in the pipeline. This is a best practice as to not expose your API key.
In your browser, return to CXTM:

On the User Settings page, you should see that No API key has been assigned for your CXTM user.
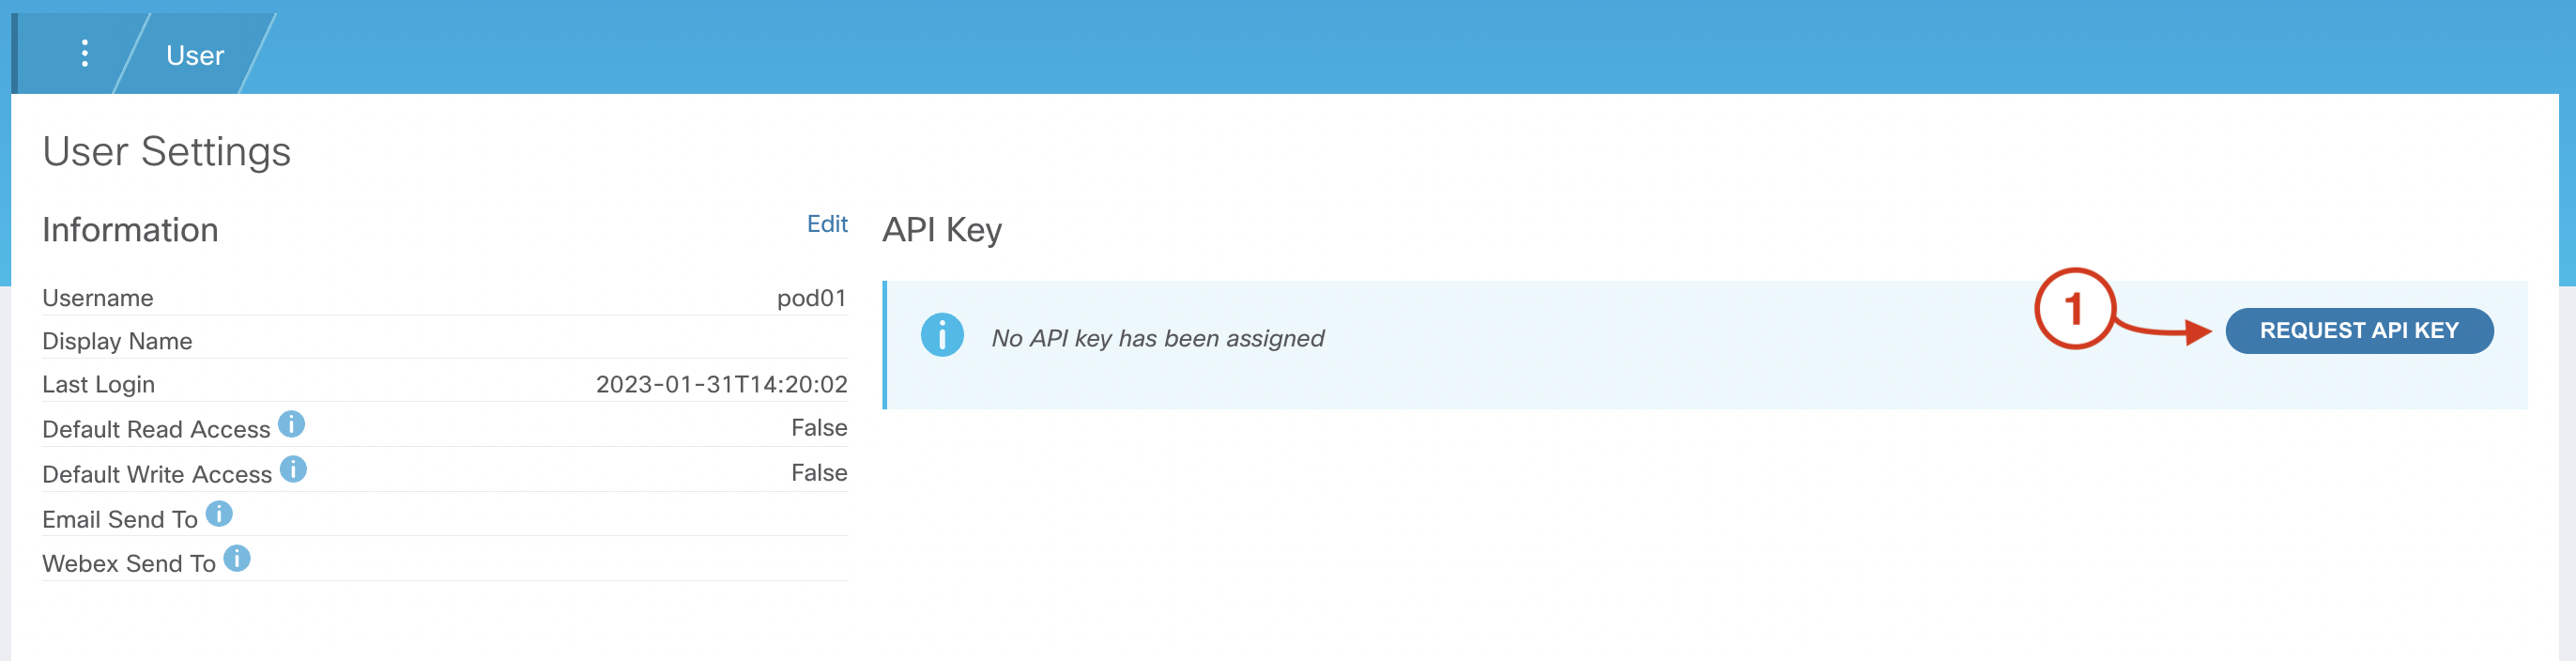
If you find that an API Key has already been assigned, simply click Delete API Key and then Request API Key to create a new key

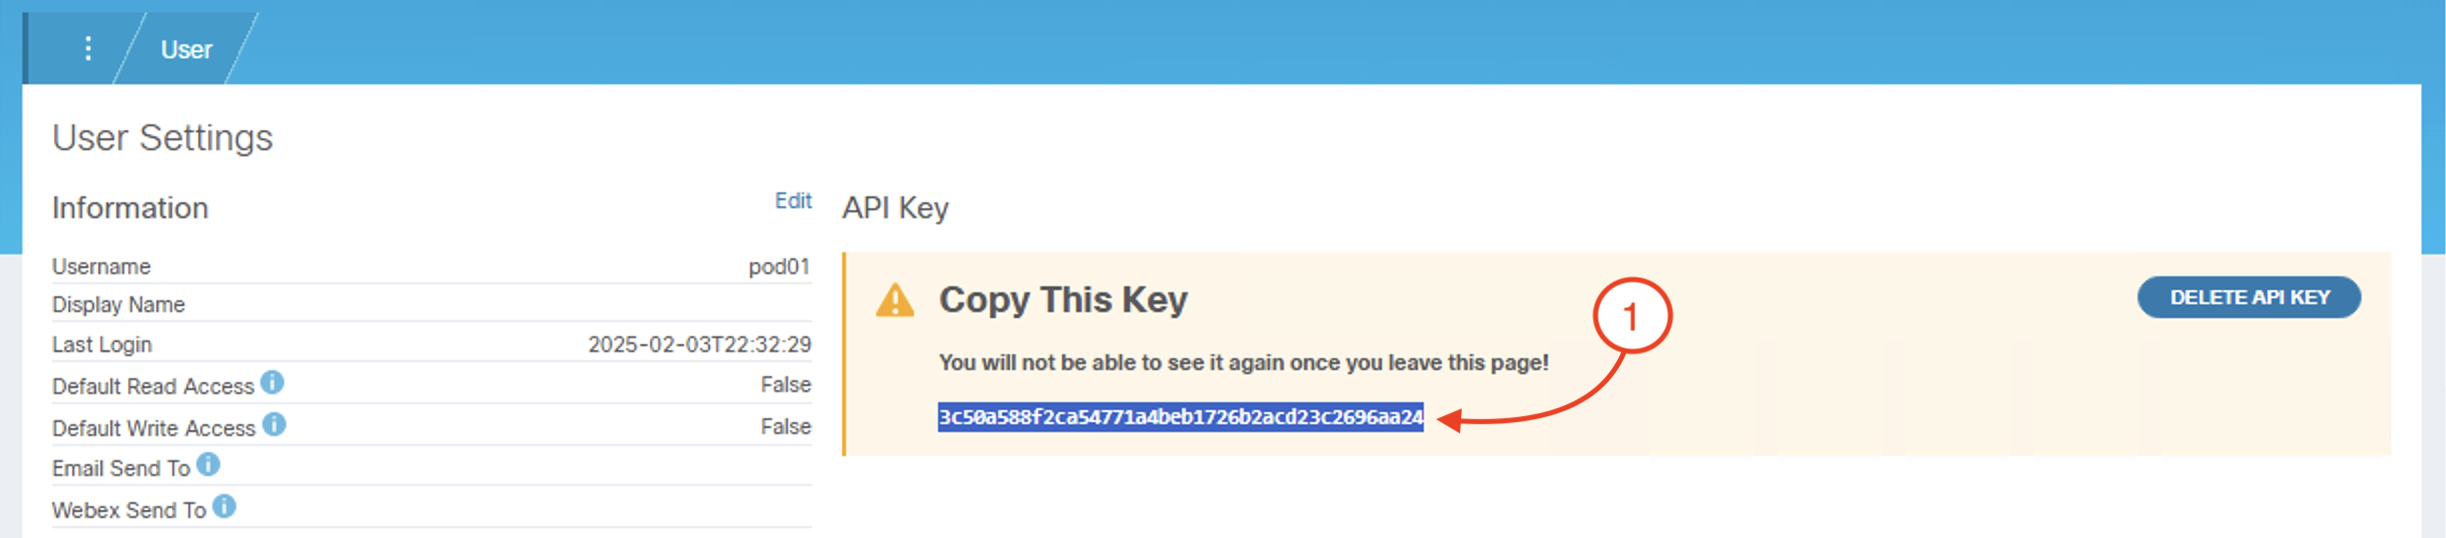
After generating your CXTM API Key:
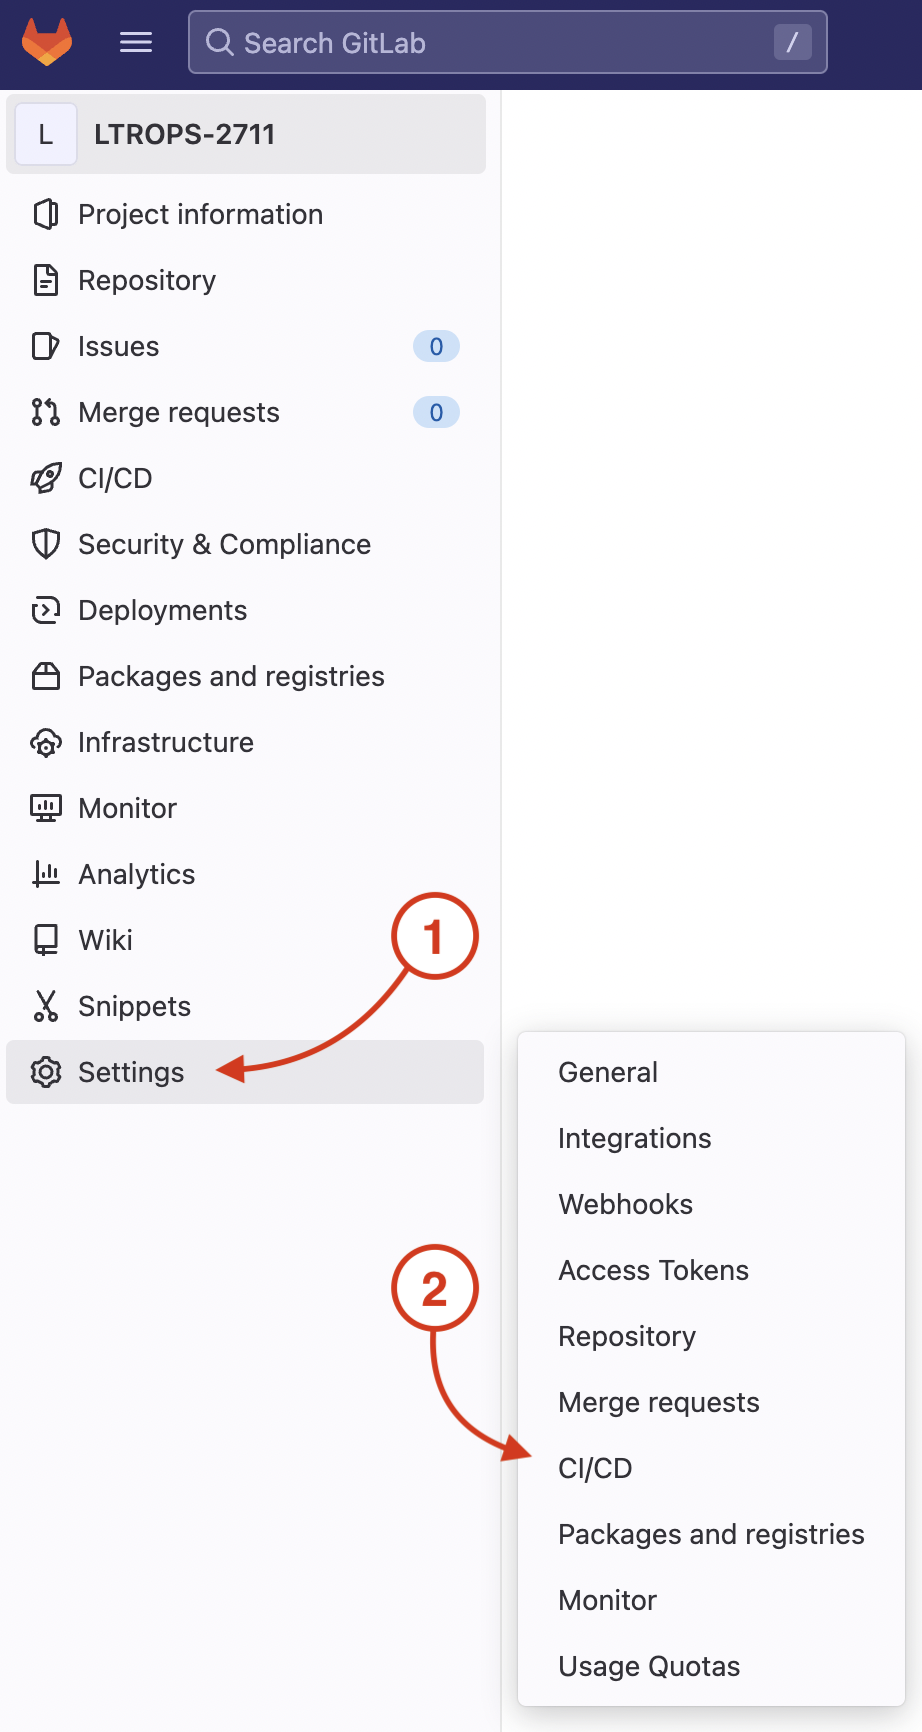
To store your CXTM API key as an environment variable in GitLab, return to your GitLab browser window and navigate to CI/CD settings in your GitLab project.
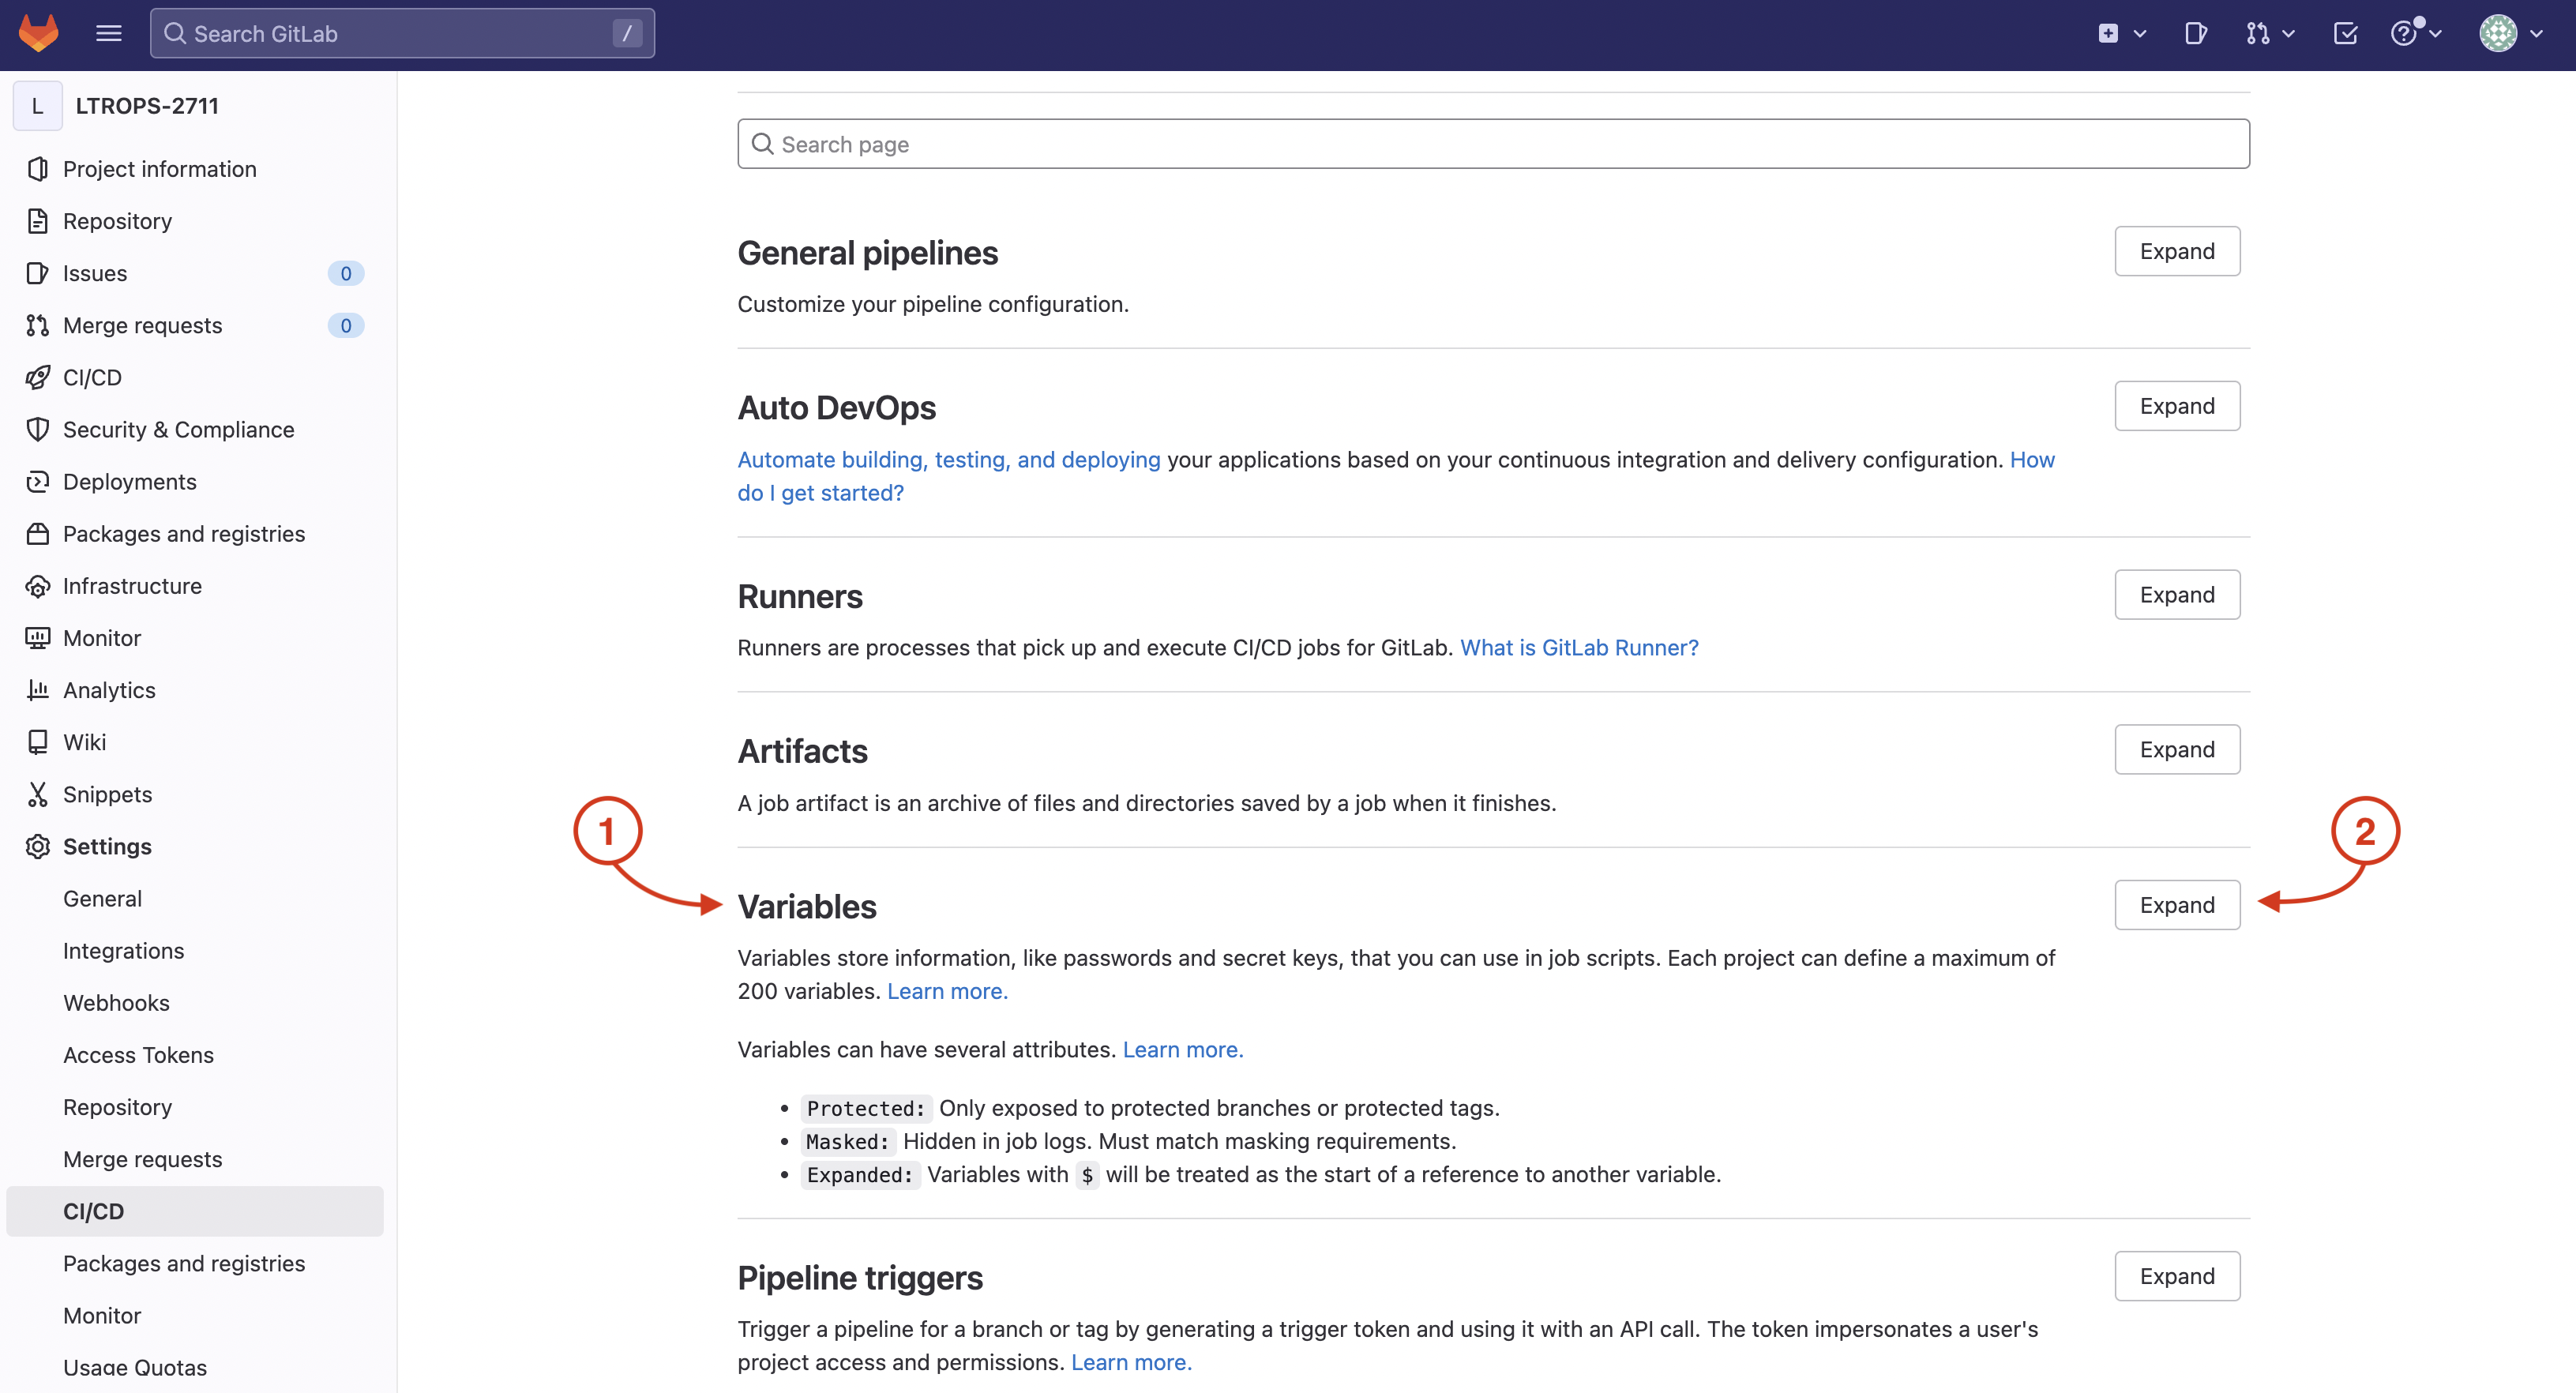
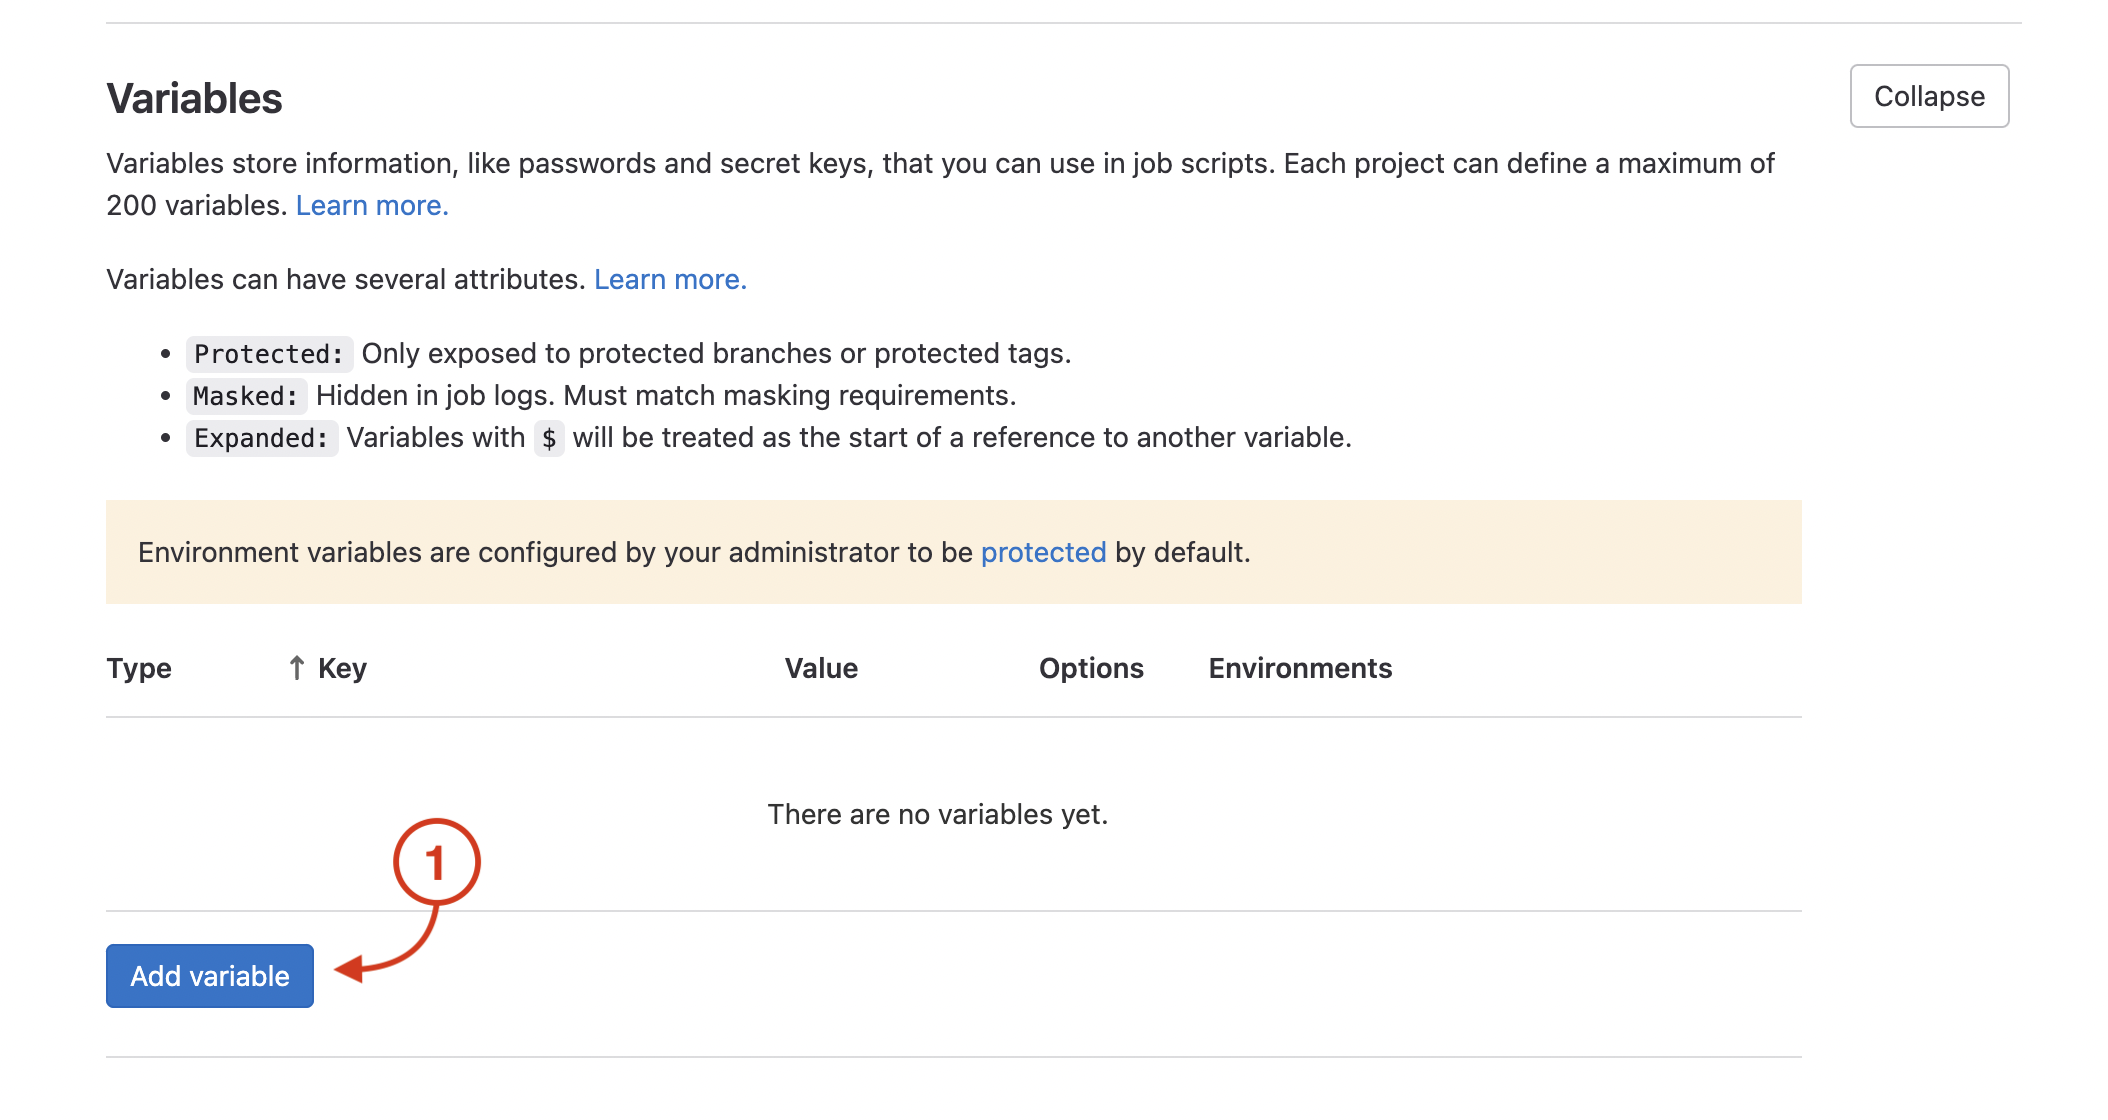
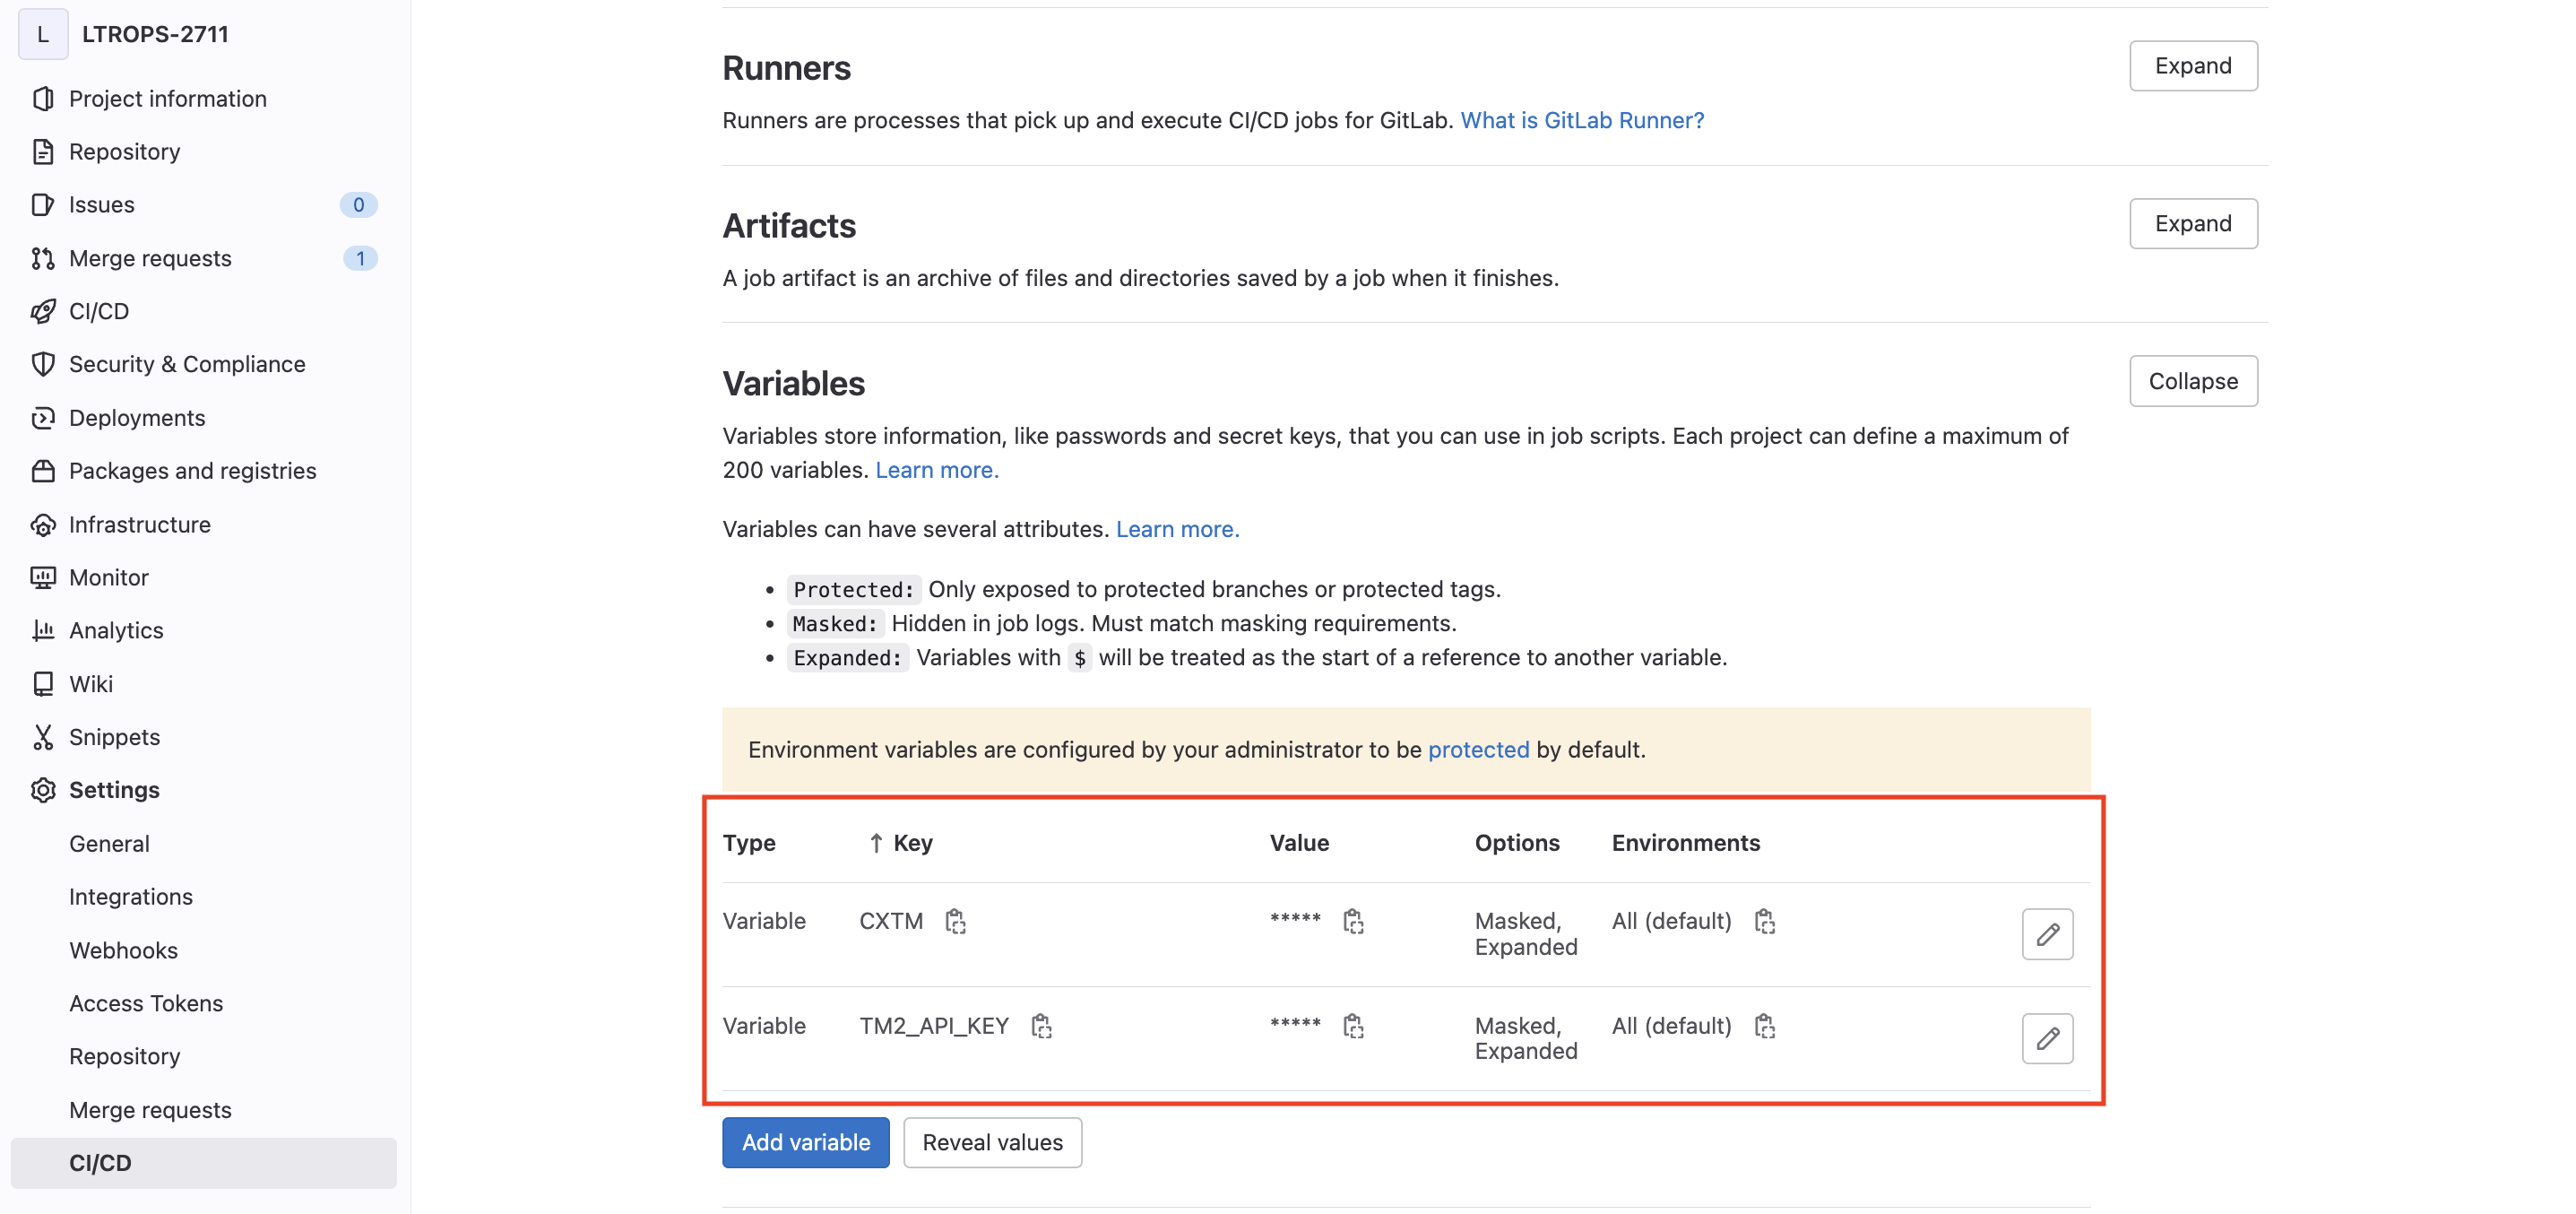
On your GitLab repo's CI/CD Settings page:
Launch the Add Variable pop-up to add your CXTM API key as a variable:
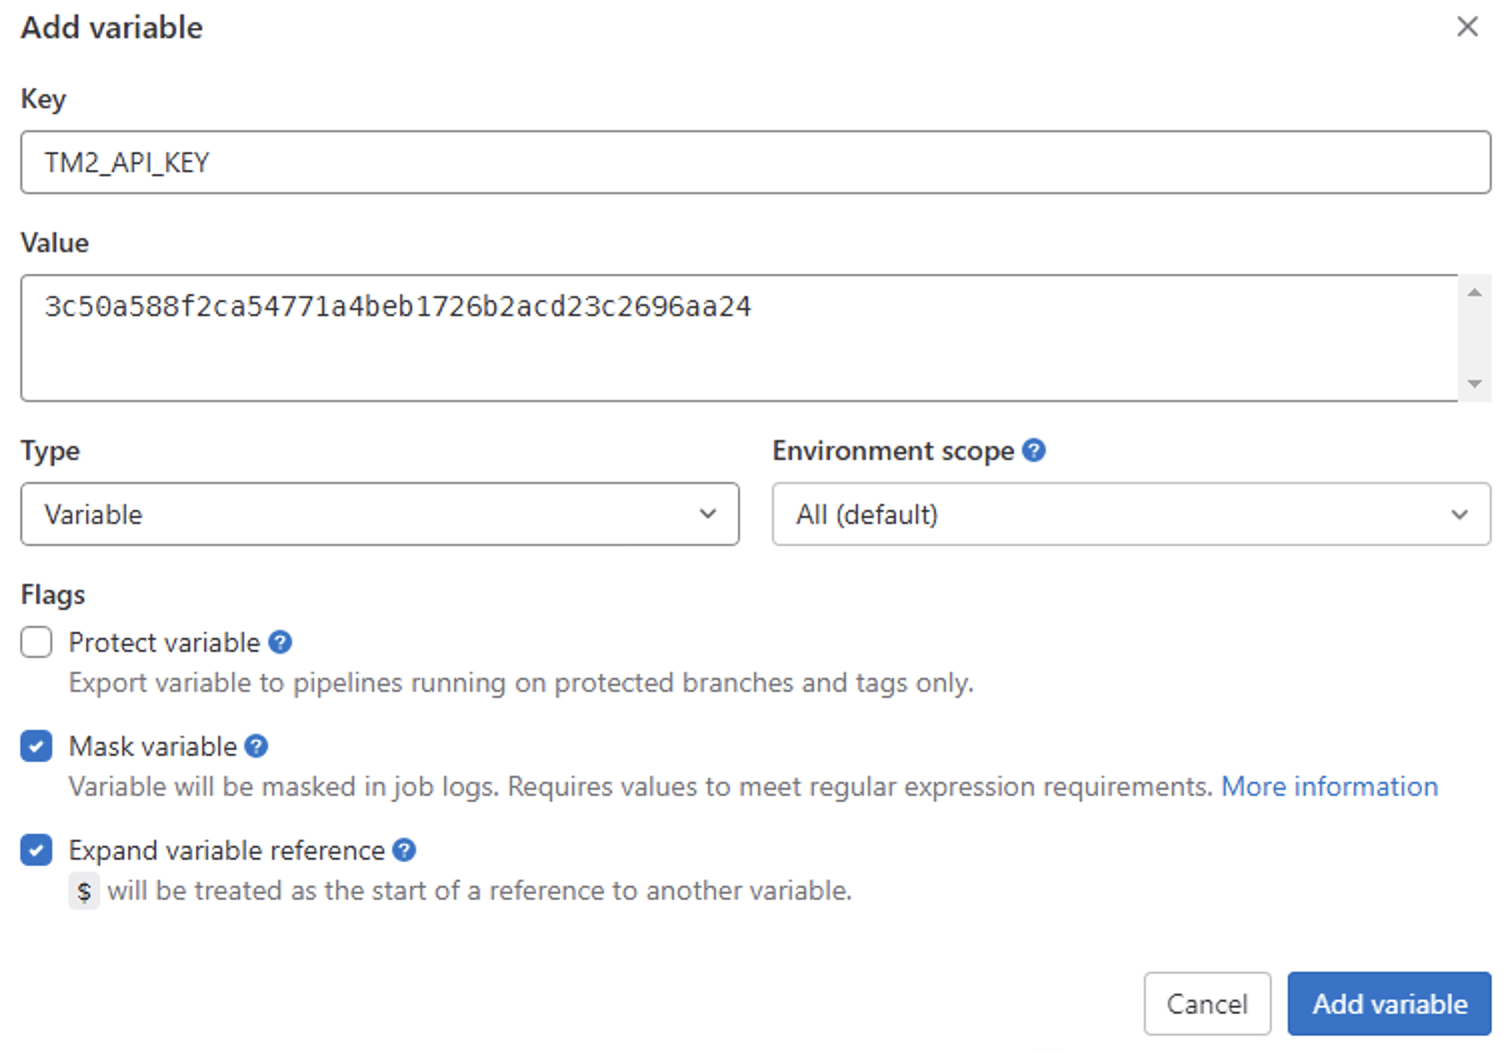
In the Add Variable pop-up, fill out the fields as described below:
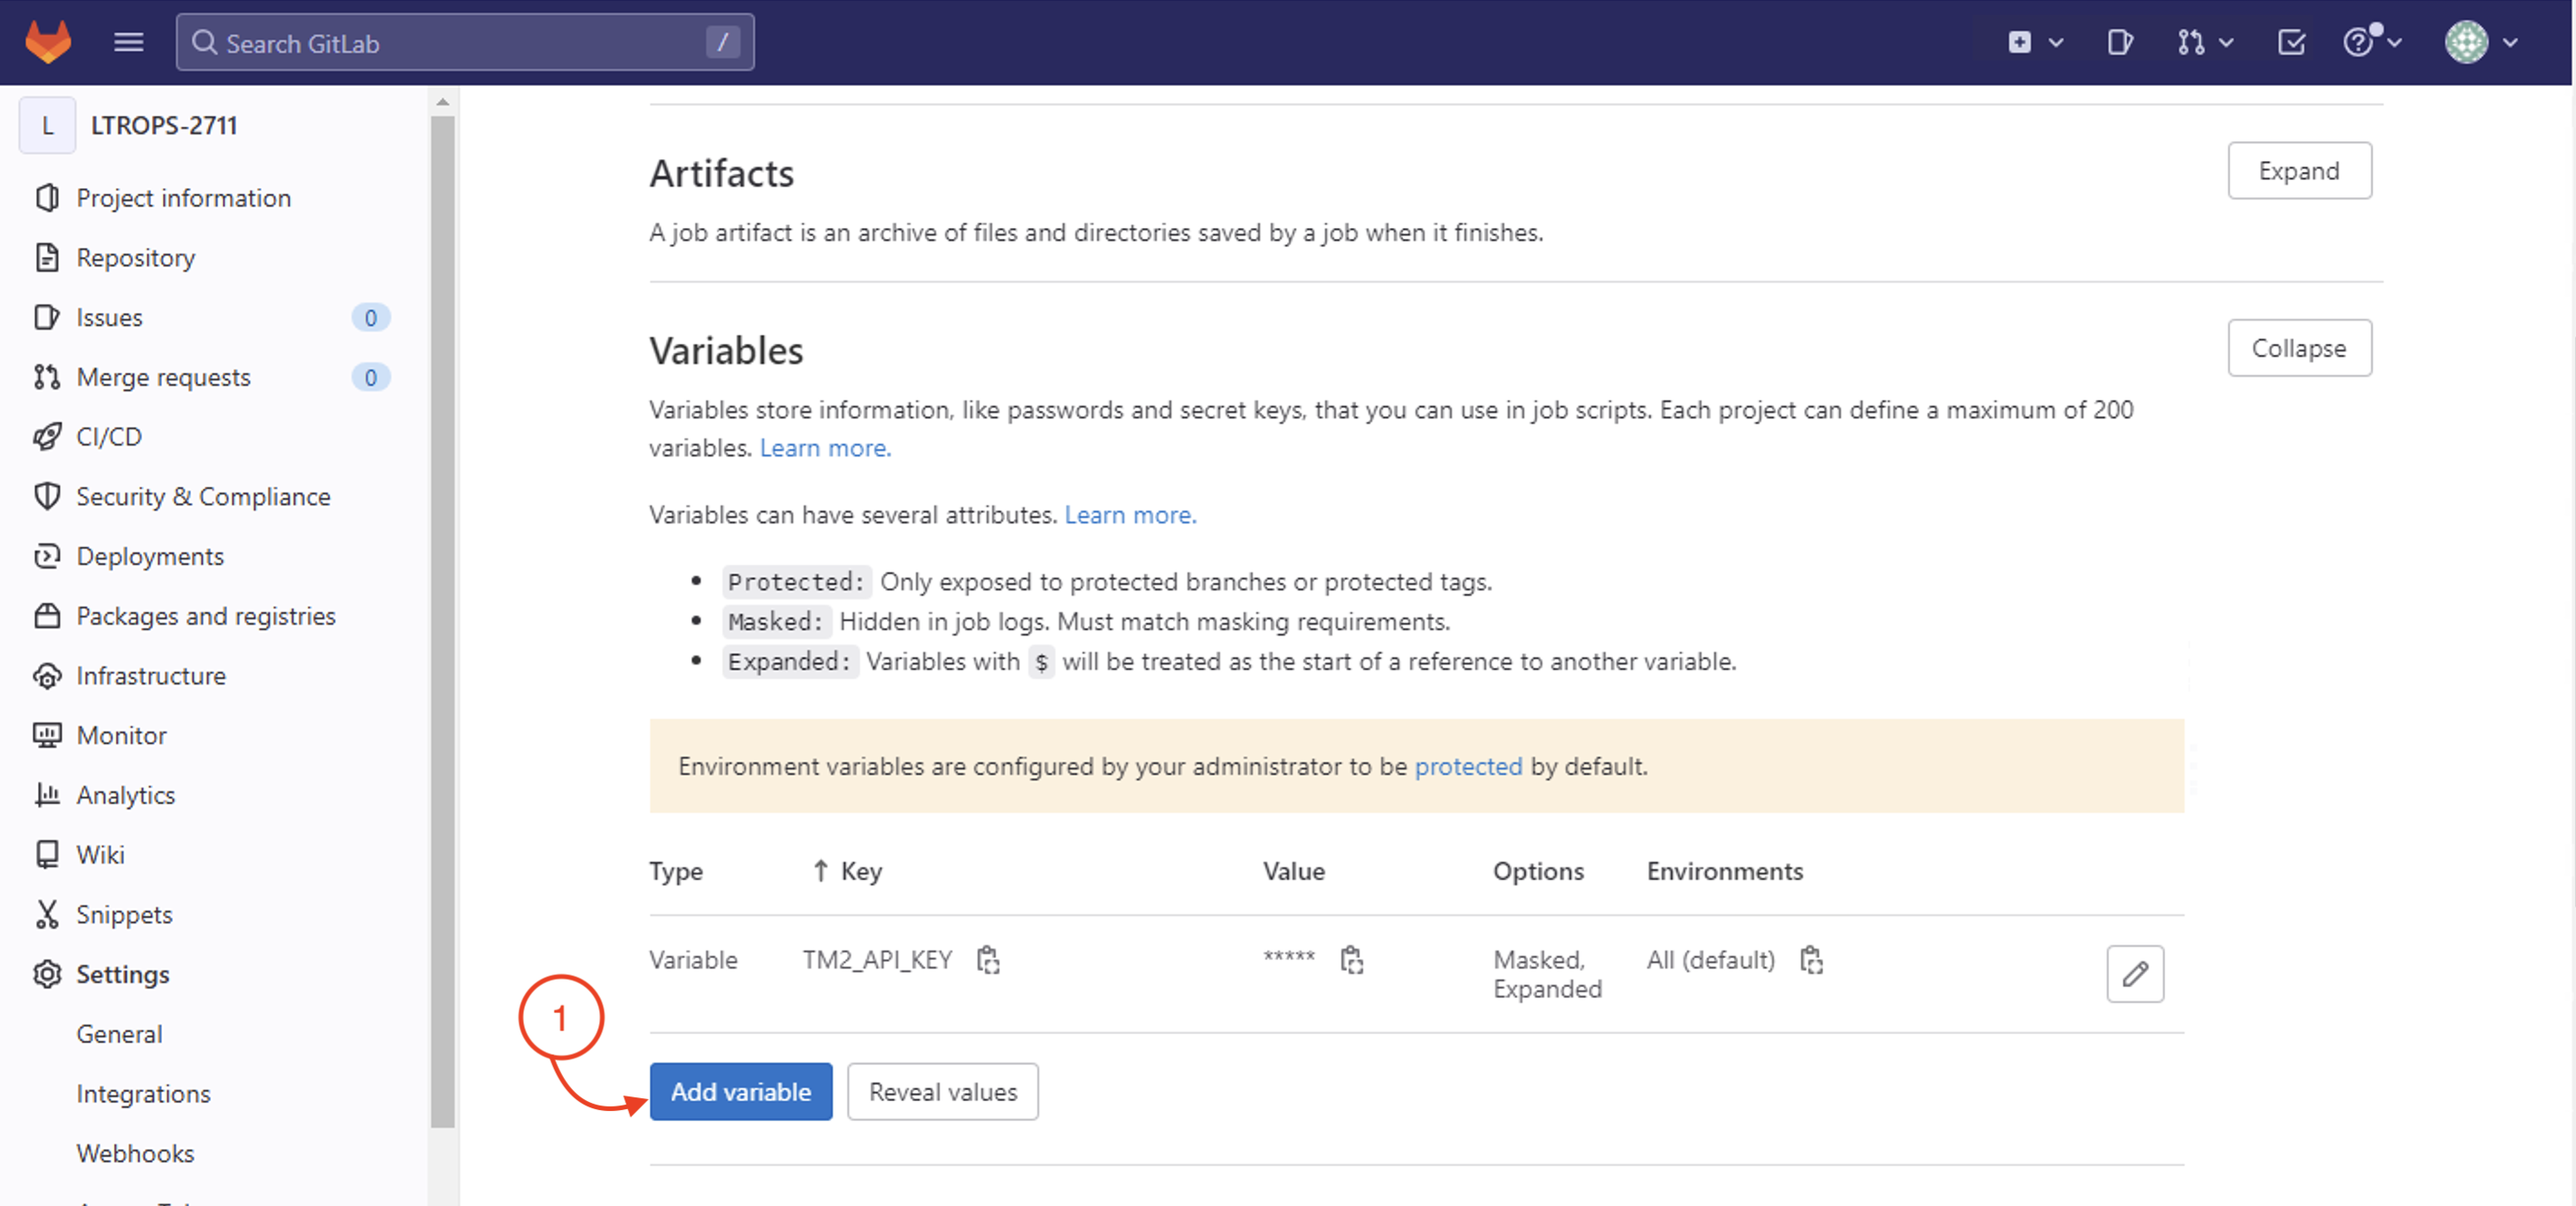
Launch the Add Variable pop-up in preparation to add your CXTM host as a variable:
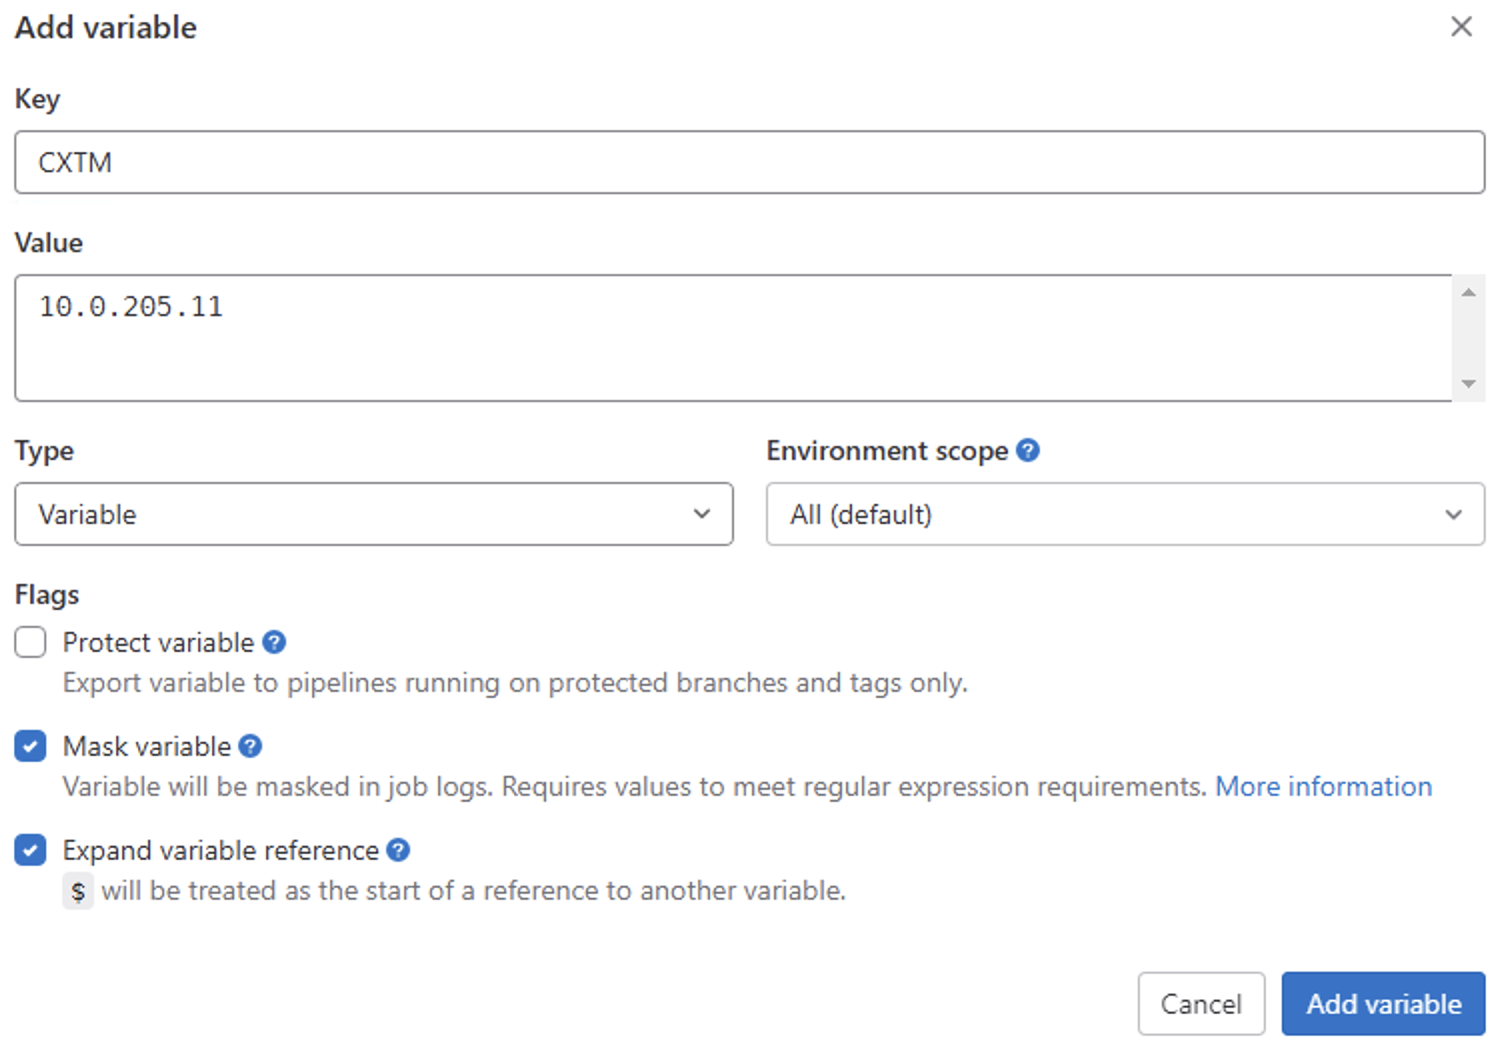
In the Add Variable pop-up, fill out the fields as described below:
After clicking Add variable:
Continue to the next section to create your GitLab CI pipeline file which will specify what your pipeline does.