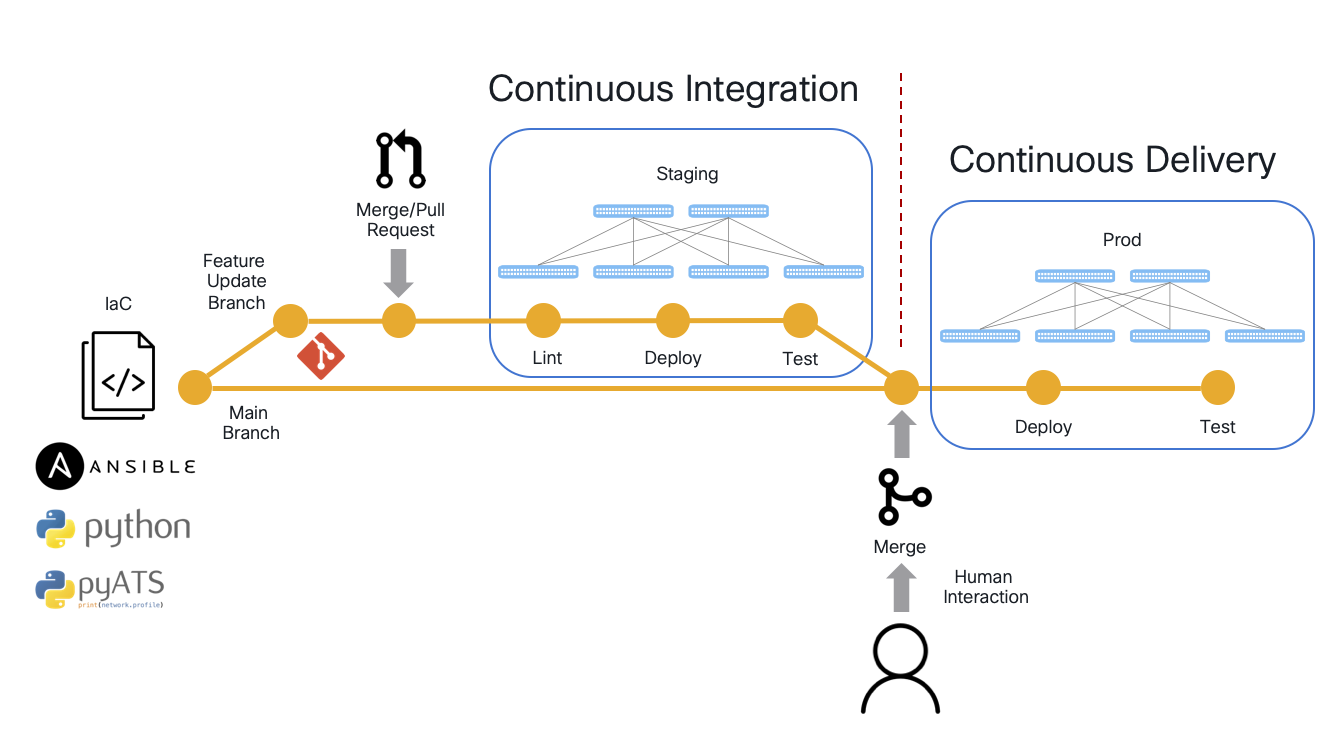
This section of the lab introduces you to the concept of NetDevOps, which is the idea of applying DevOps principles to network infrastructure and teams. First, you will explore GitLab and setup your base Git repo's main branch. Then, you will create your config change branch to create your own Continuous Integration (CI) pipeline to deploy and test an Infrastructure as Code (IaC) change to your test network. Prior to the configuration change, you will leverage your first batch of test cases you created to perform a quick baseline check. Then, the configuration change will bring up OSPF neighbors between your XR9Kv and C8Kv routers. Once that peering is established, iBGP neighbors will be configured between your CSR1Kv and N9Kv to your C8Kv. Following the routing changes to your network, you will leverage your routing batch of test cases to validate that the new state of your network is functioning as expected.
Upon the successful execution of this pipeline, your configuration change branch is ready to be merged to your main branch. Doing this is outside the scope of this lab as this action, in reality, could perform one of two things: 1) Continuous Delivery (CD) where the pipeline is waiting on you to manually perform that merge through a merge or pull request process to inturn make and test the configuration changes to your production network (i.e. during a scheduled change or maintenance window), or 2) Continuous Deployment (also CD) where the pipeline would not wait for your interaction but instead, upon success of the configuration change and testing against your test network, automatically rollout the changes (and testing) to your production network.
You will use Git for version control of your Infrastructure as Code (IaC) / Network as Code (NaC). The Git tooling for this lab will make use of GitLab. GitLab has been deployed for the lab and all users share the same instance. Additionally, an empty repository has been created for you. These two prerequisites have been done for you in this lab for the sake of time. If interested in discussing details on setup, please reach out to an instructor.
GitLab is a web-based DevOps lifecycle tool that provides Git repository management, issue-tracking, and CI/CD pipeline features using an open-source license.
To get started, you will login to the GitLab instance to view your empty repo. You will be populating your repo in the upcoming steps with Ansible files and
a GitLab CI file to deploy the configuration changes to your test network and define your pipeline stages.
Login to the GitLab instance by clicking the URL below or copying the URL into a new tab in your browser window:
Login using the information below:
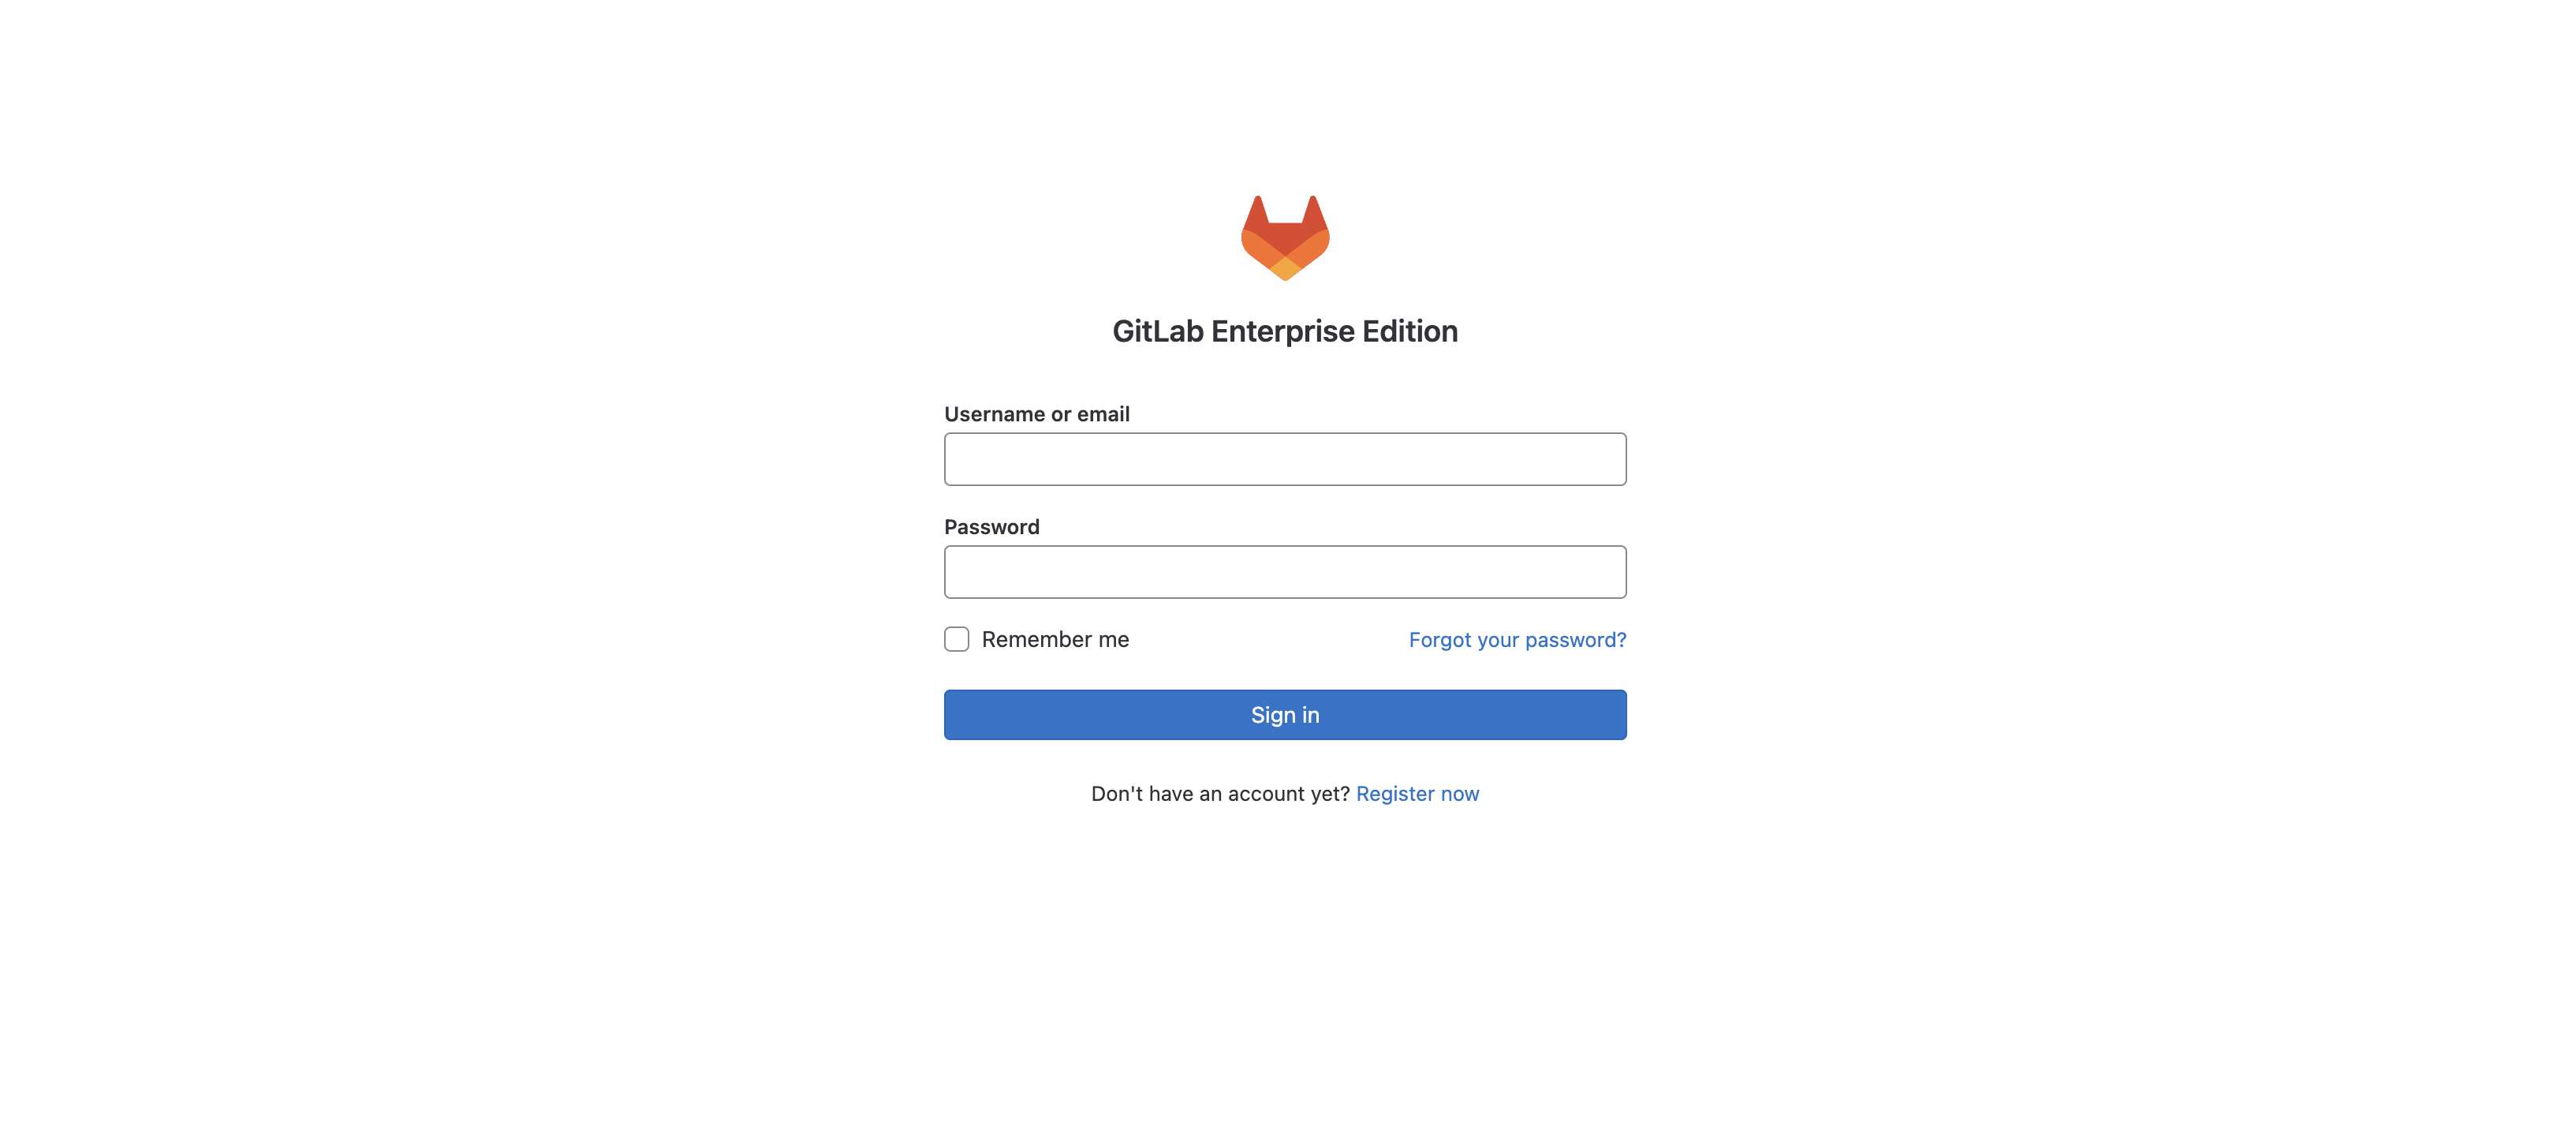
Once logged into GitLab, your screen should look similar to the screenshot below. This is what an empty Git repo looks like in GitLab as well as in GitHub if you were to use that for source control. Empty repos provide you the steps and information to initialize and commit code to the repo. This will be the action you perform in the next section.

Continue to the next section to start creating directories and files to initialize your repo