In this section, you'll use CXTM's embedded interactive API documentation to make the same API call to execute a batch
that was used in your pipeline.
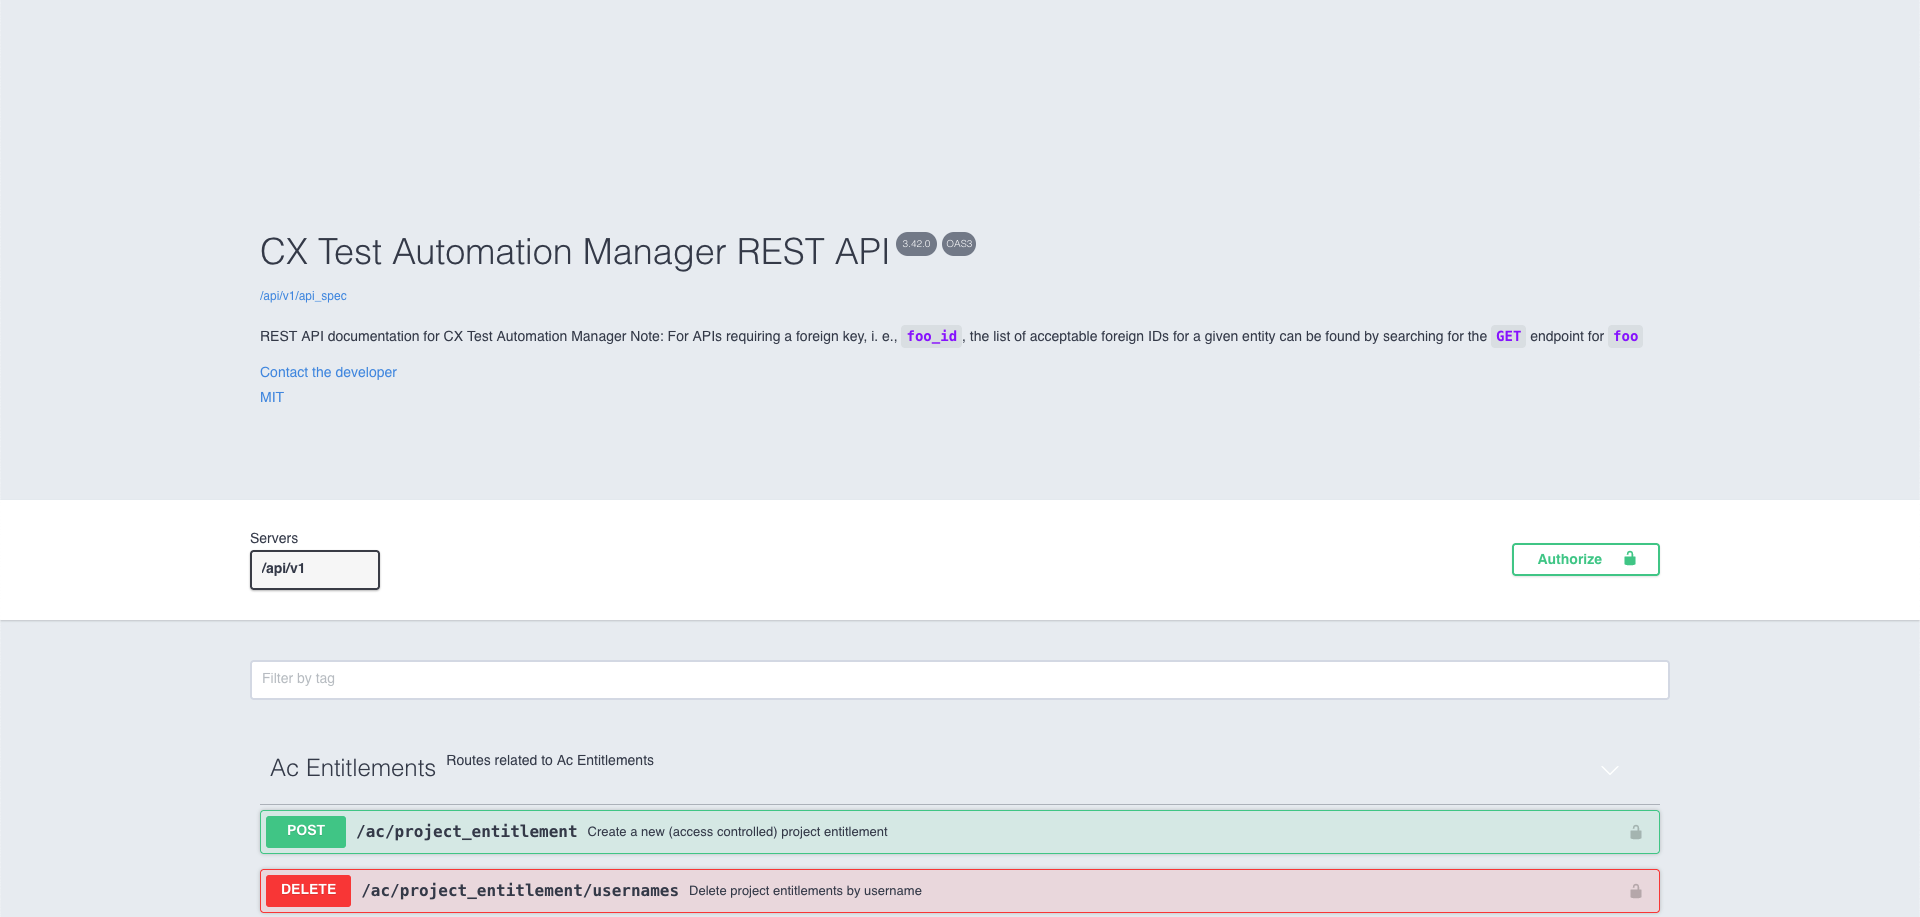
Step 1 - Locate CXTM's REST API documentation
In the left sidebar navigation menu:
Scroll down until you locate the heading Documentation
Step 2 - Open the swagger API Documentation
In the left sidebar navigation menu:
Click on REST API
The REST API documentation page will open in a new browser tab.
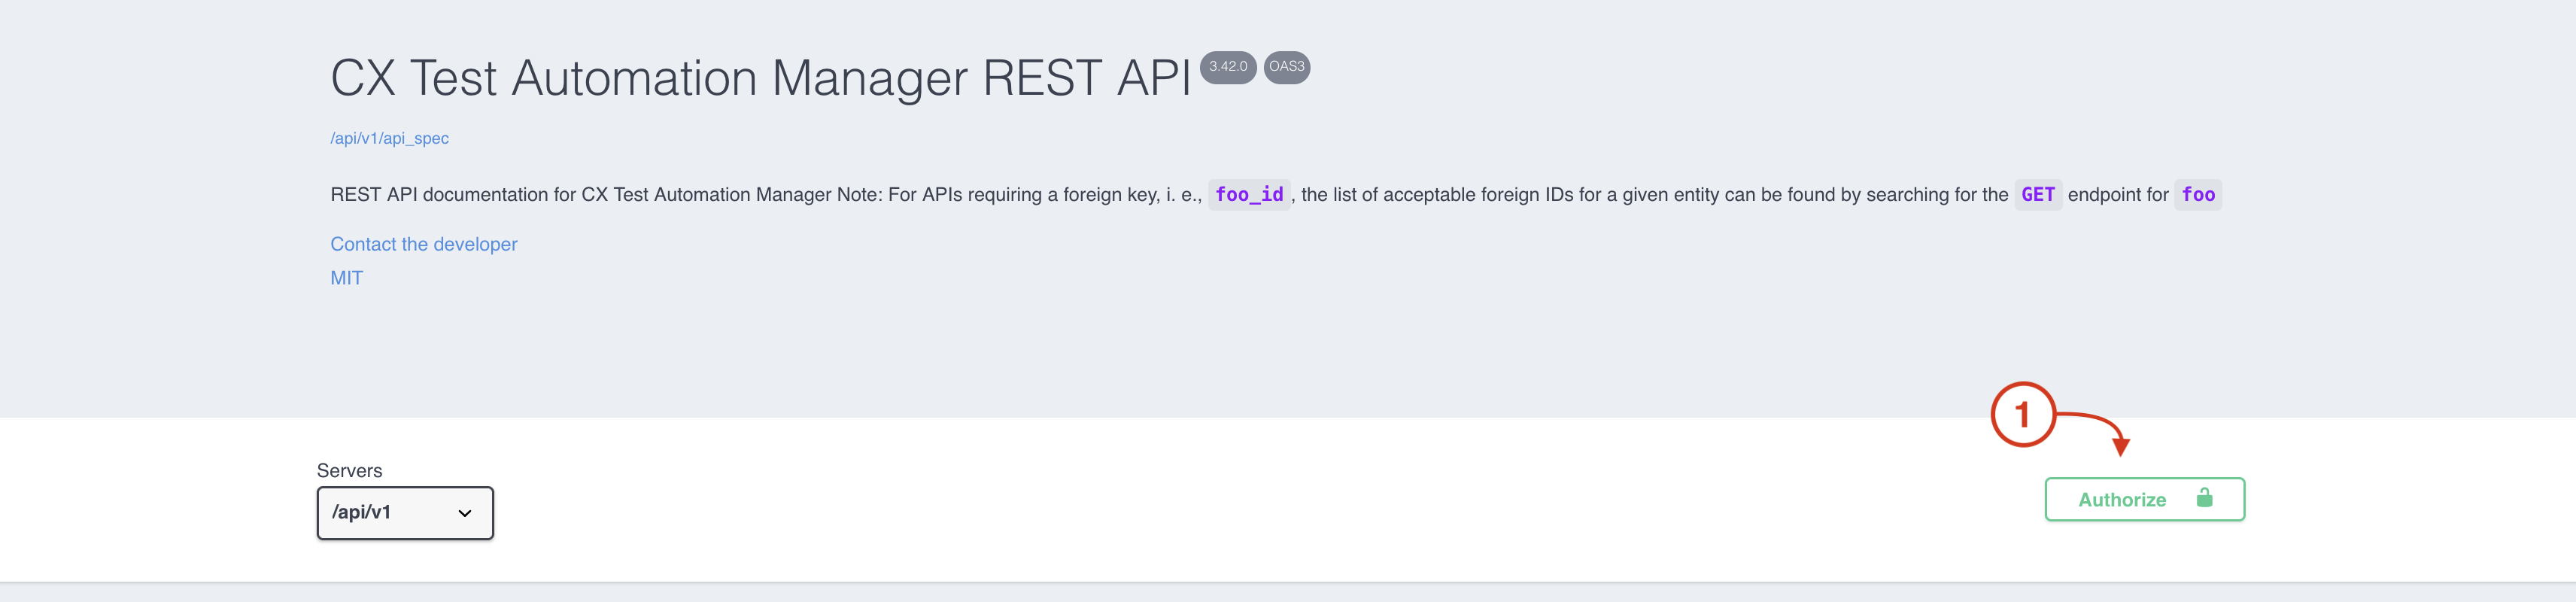
Step 3 - Authorize with your CXTM API Key
From the swagger page:
Click on the Authorize button
Enter your CXTM API Key
Note: if you didn't save your API Key generated during the Create CXTM Pipeline Script section,
return to that section to recall how to return to Manage Profile to delete your API Key and generate a new one.
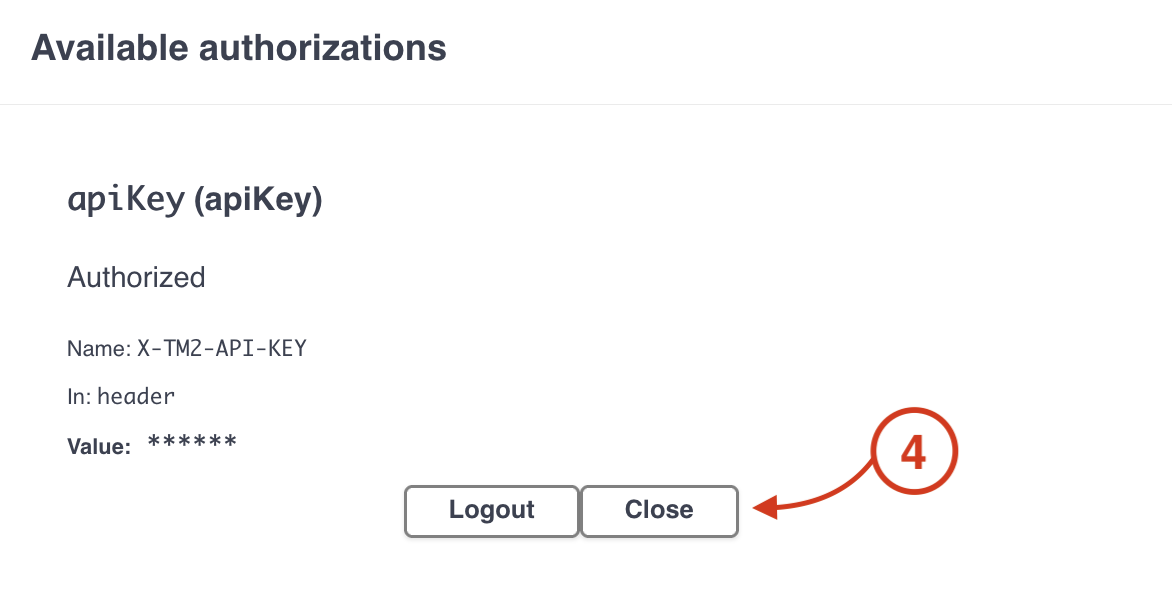
Click the Authorize button
Click the Close button
Step 4 - Locate the API endpoint to run a batch
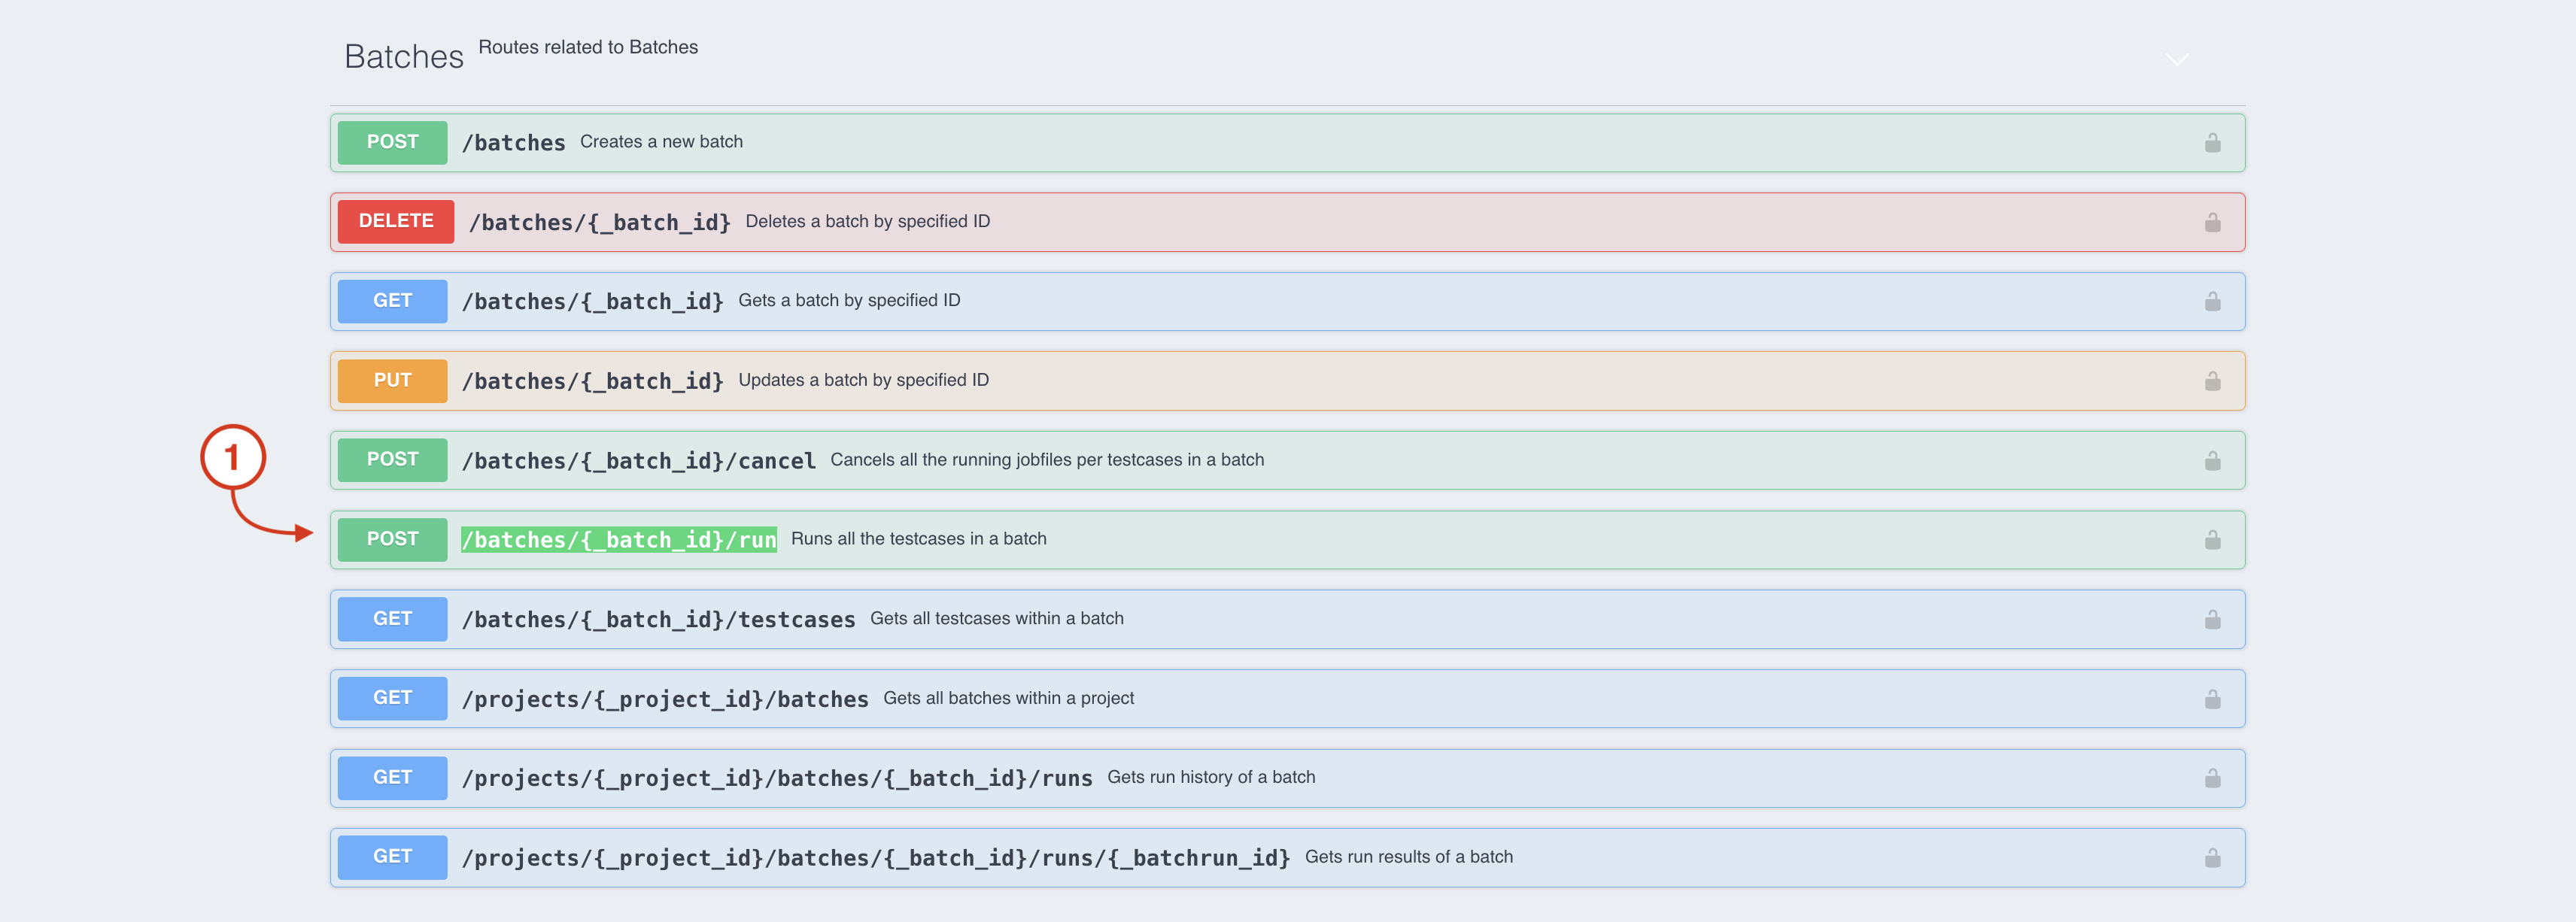
The API endpoint used to run the batches used in the pre-tests and post-test stages of your pipeline is /batches/{_batch_id}/run
From the swagger page:
use Ctrl+F to search for
/batches/{_batch_id}/run
on the page
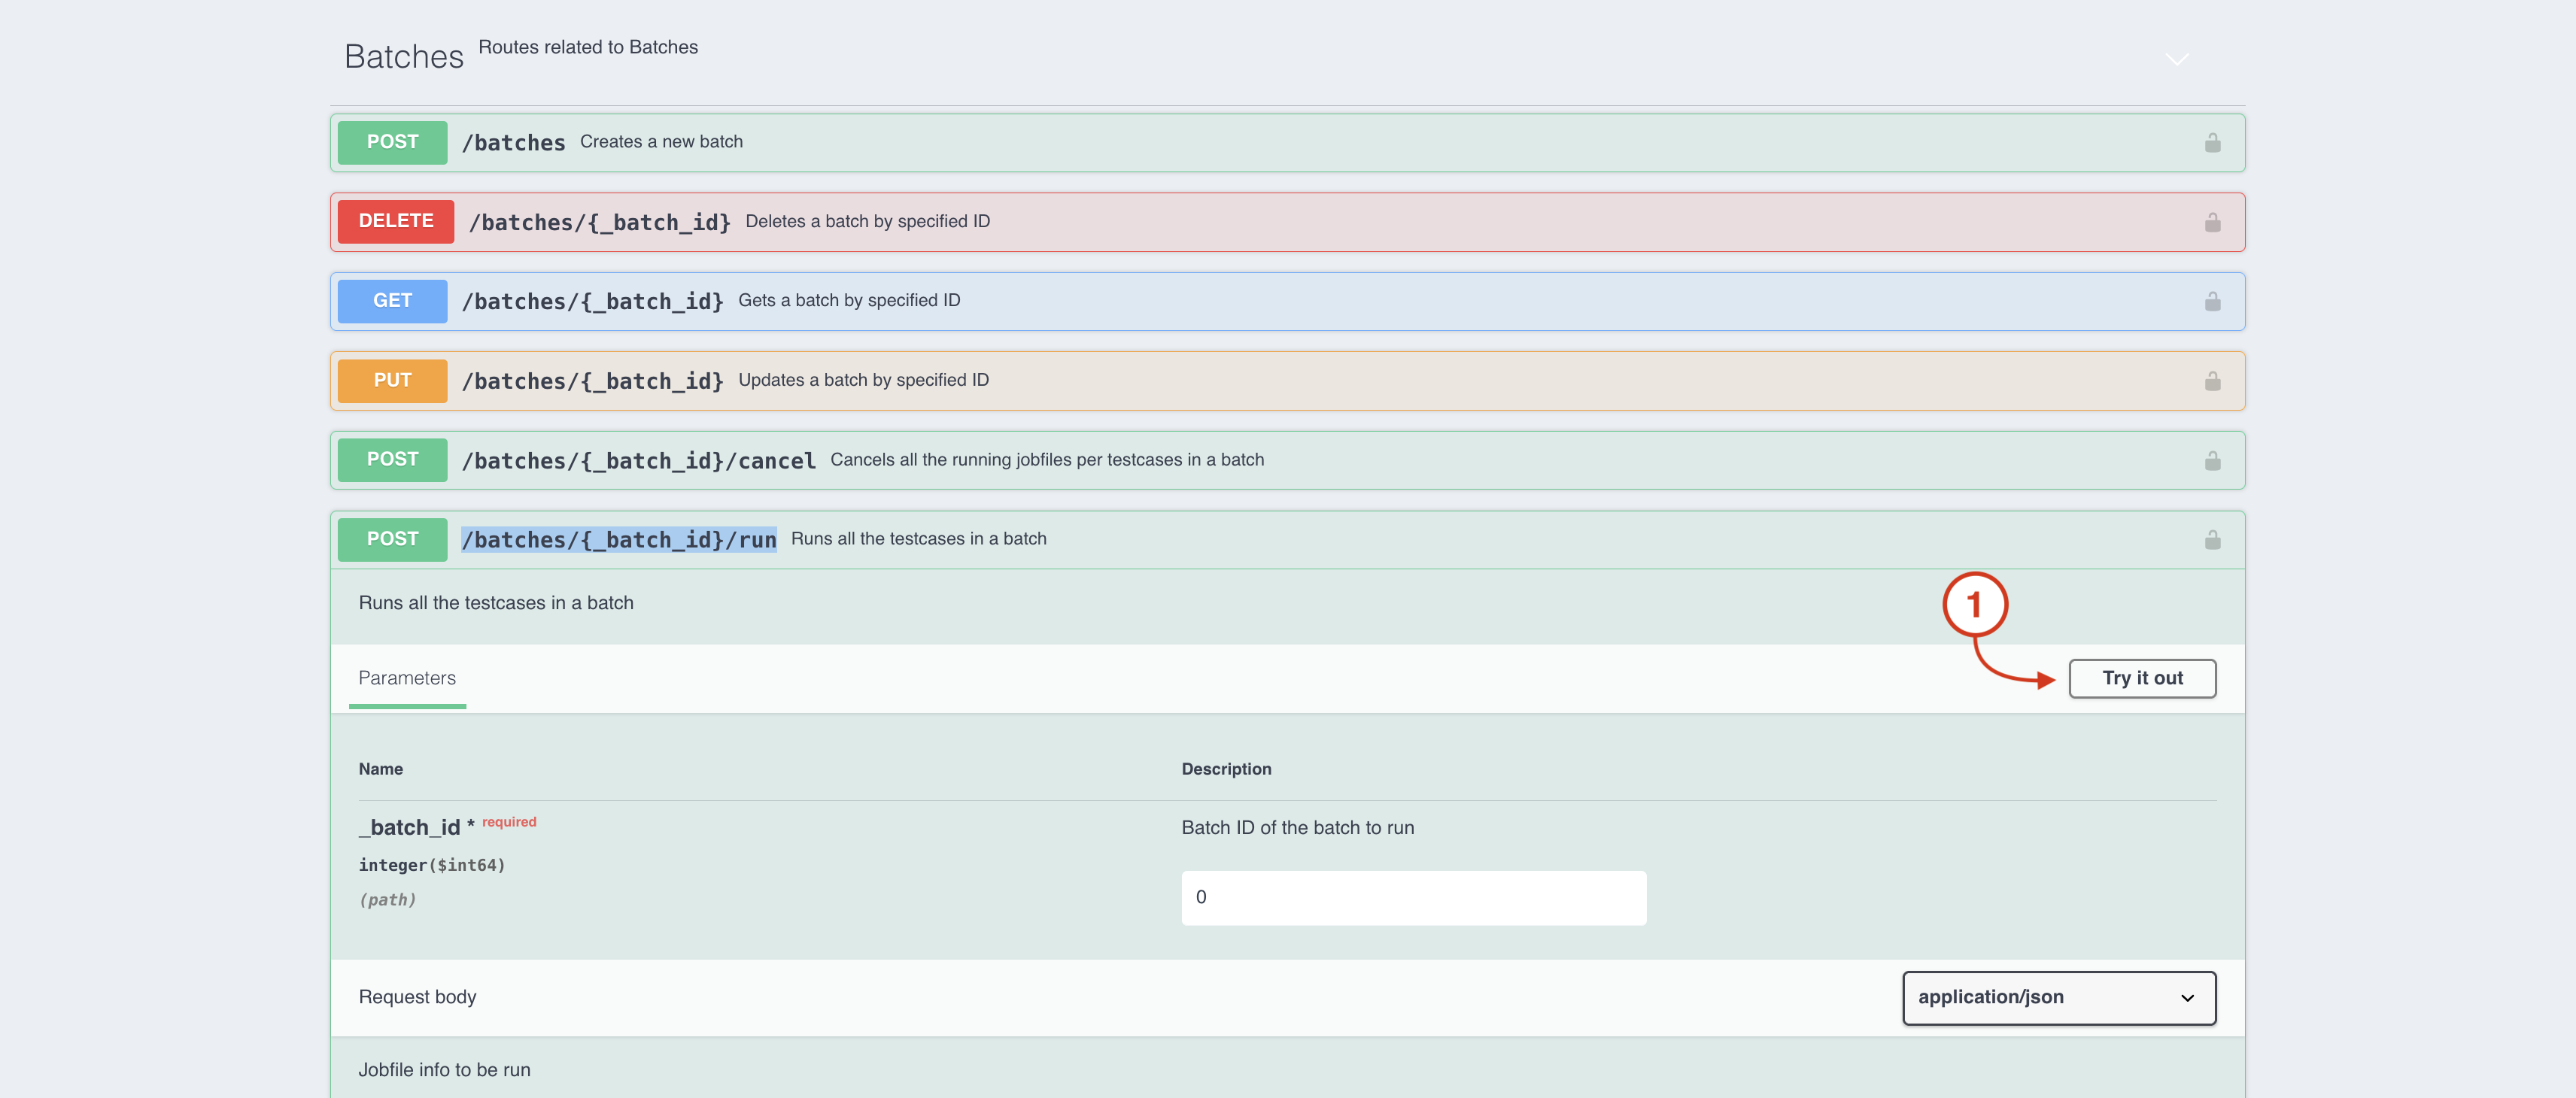
Click on the /batches/{_batch_id}/run entry to expand it
Notice that this API endpoint Runs all the testcases in a batch, identified by a provided batch ID. You'll need to
get the batch ID from the desired batch in your CXTM project. Keep the swagger browser window open and follow the next
steps to identify the batch ID from your project.
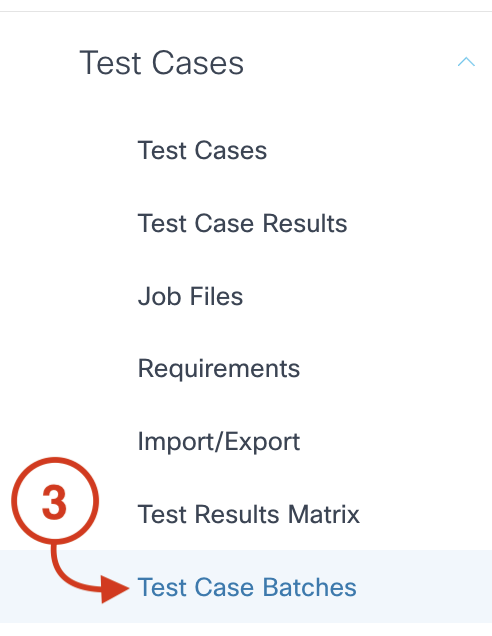
Step 5 - Navigate to your CXTM Project's Batches page
Return to your CXTM browser window
Open the sidebar if not already open
Scroll down until you locate the heading Test Cases
Under Test Cases, click Test Case Batches
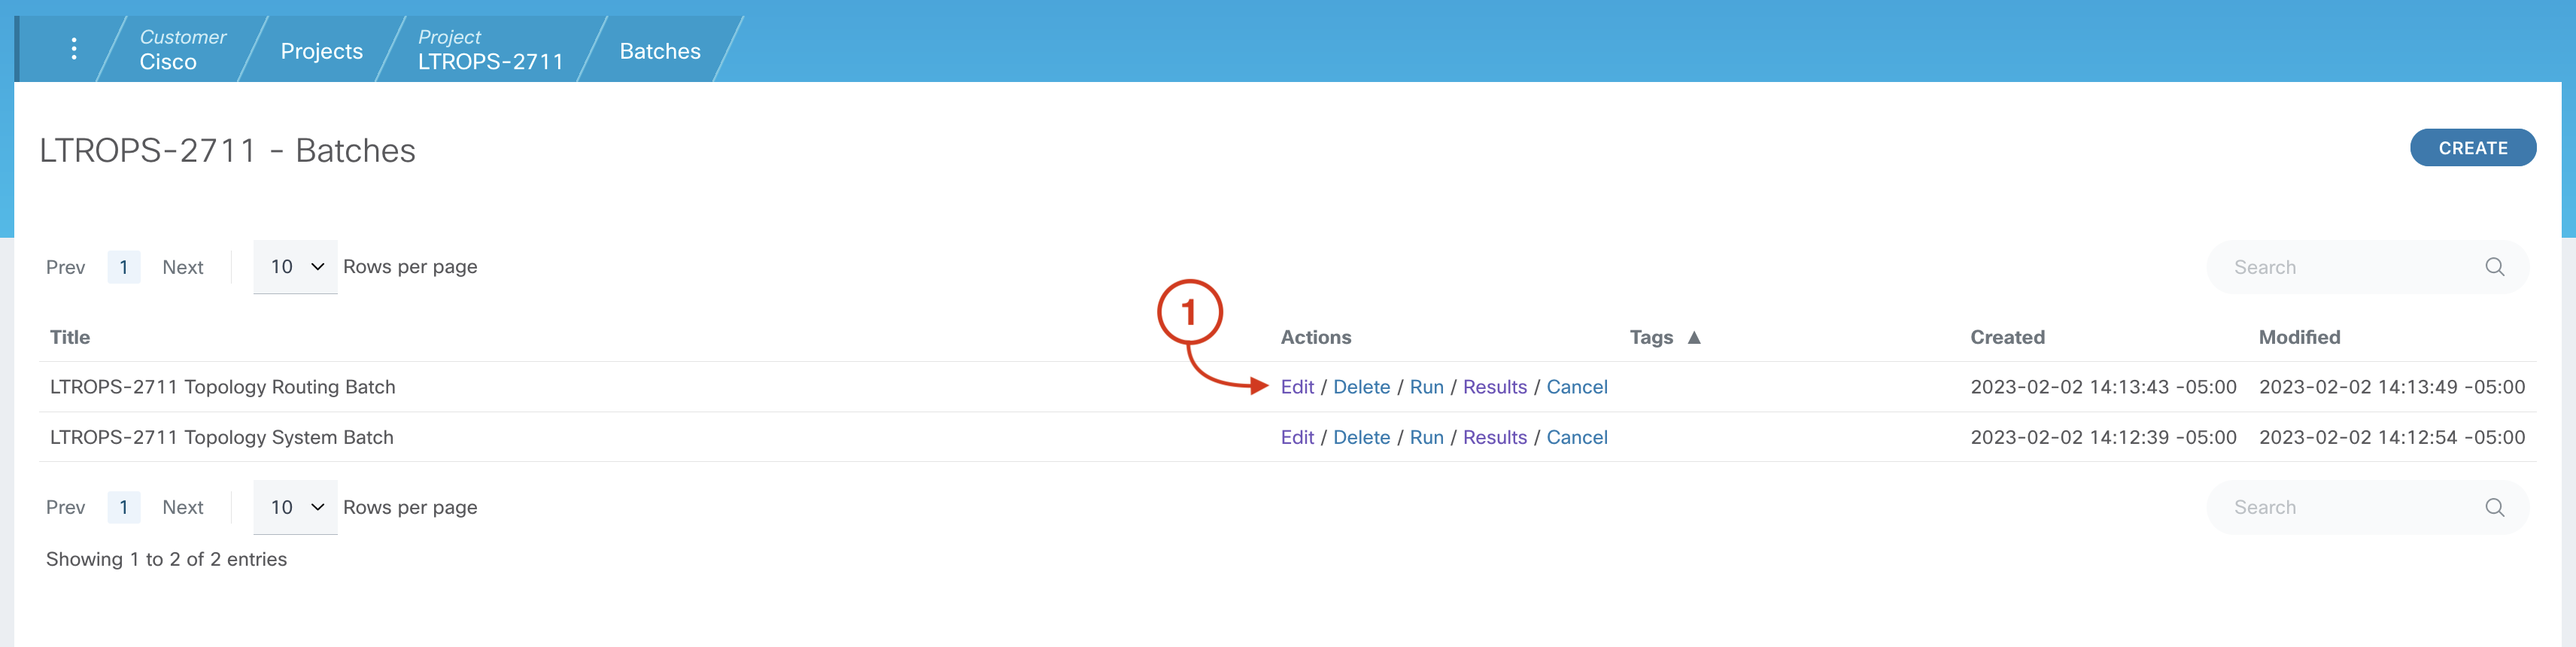
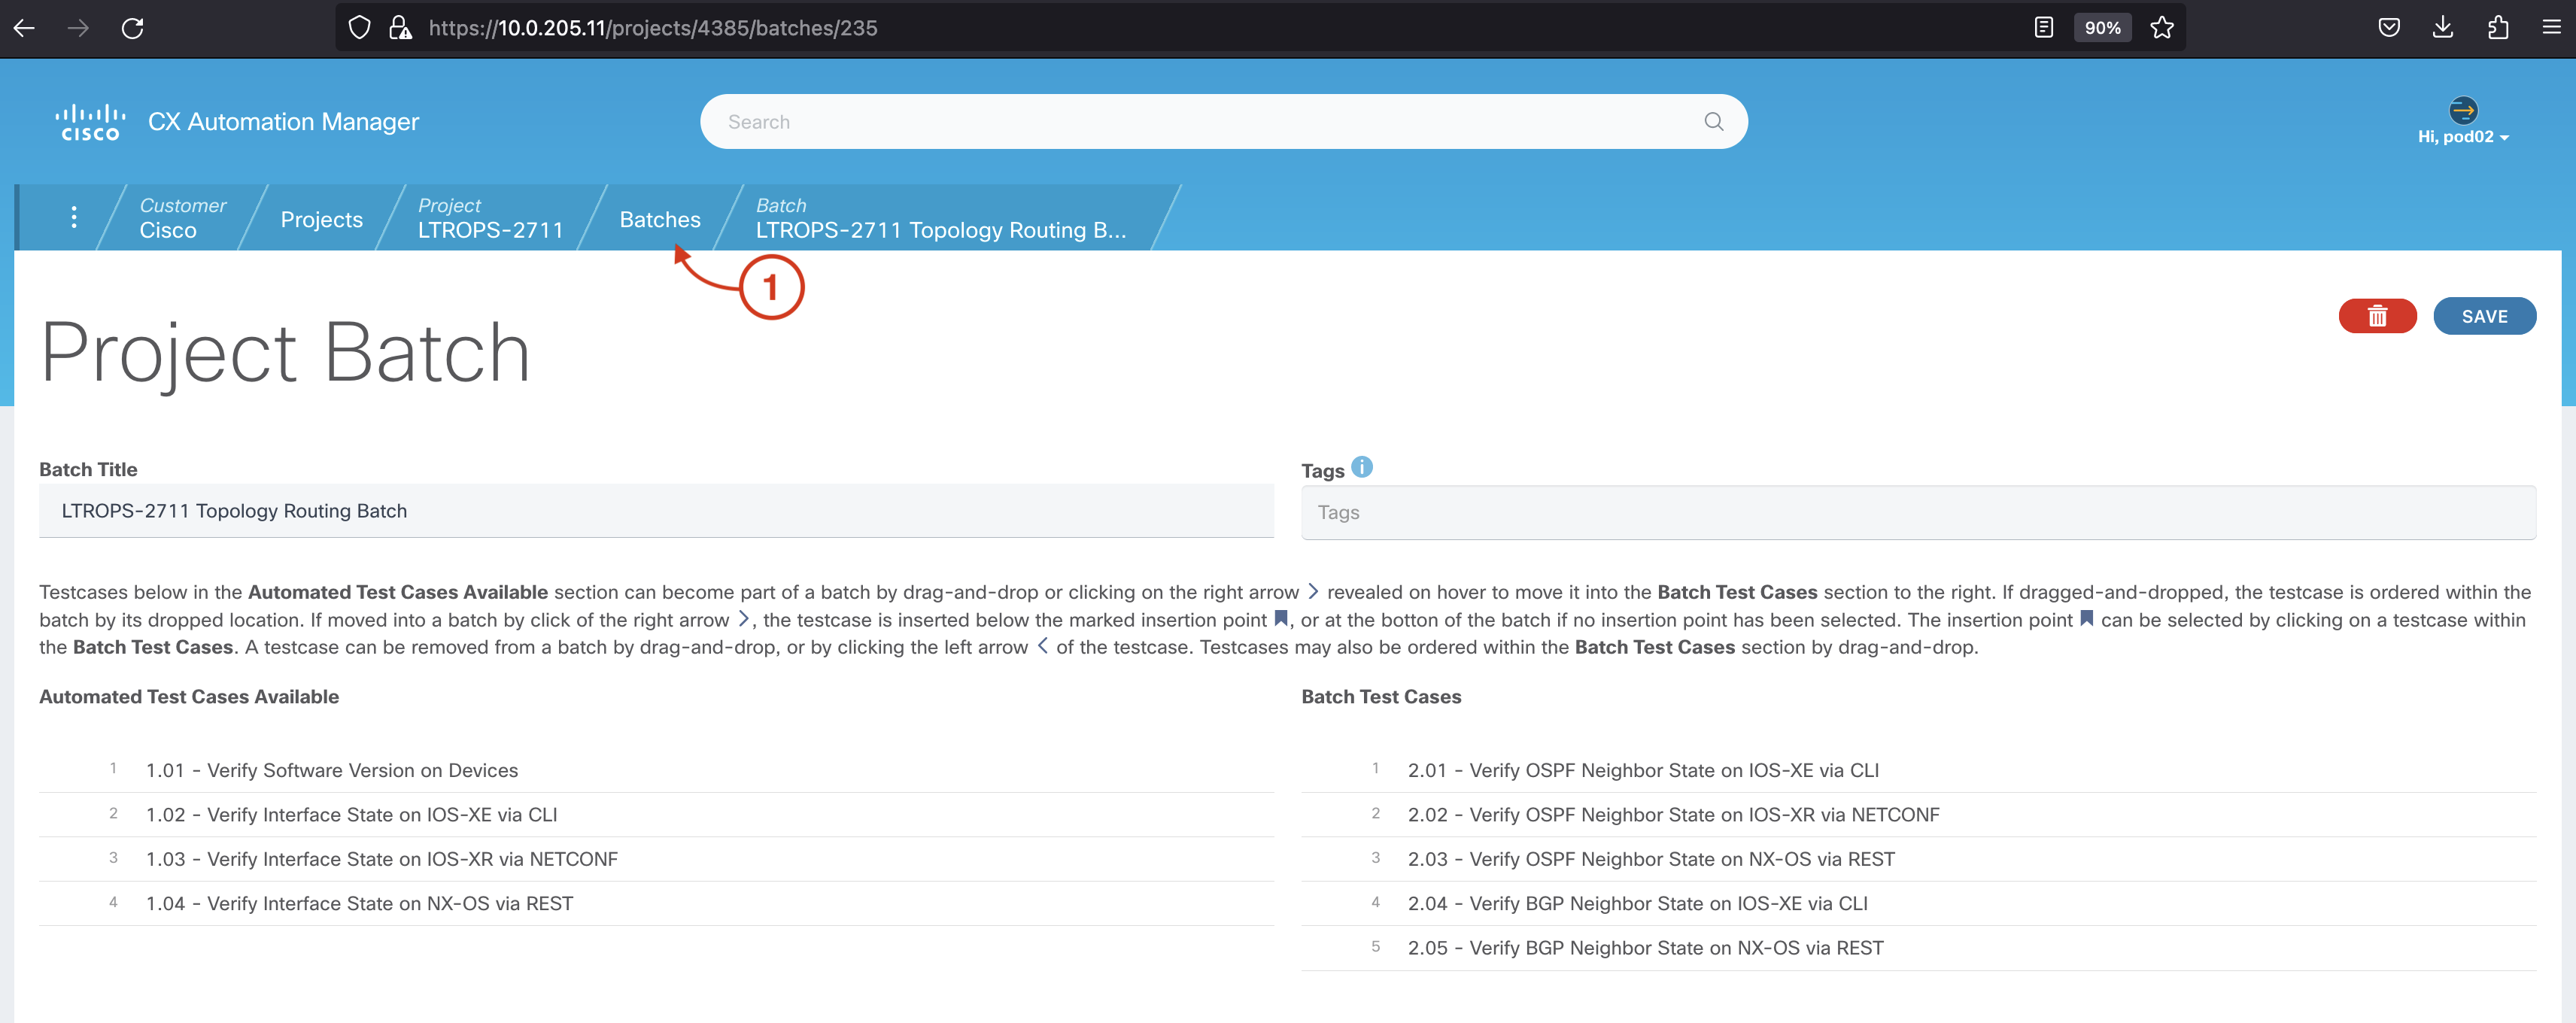
Step 6 - Identify the batch ID
From your project's Batches page:
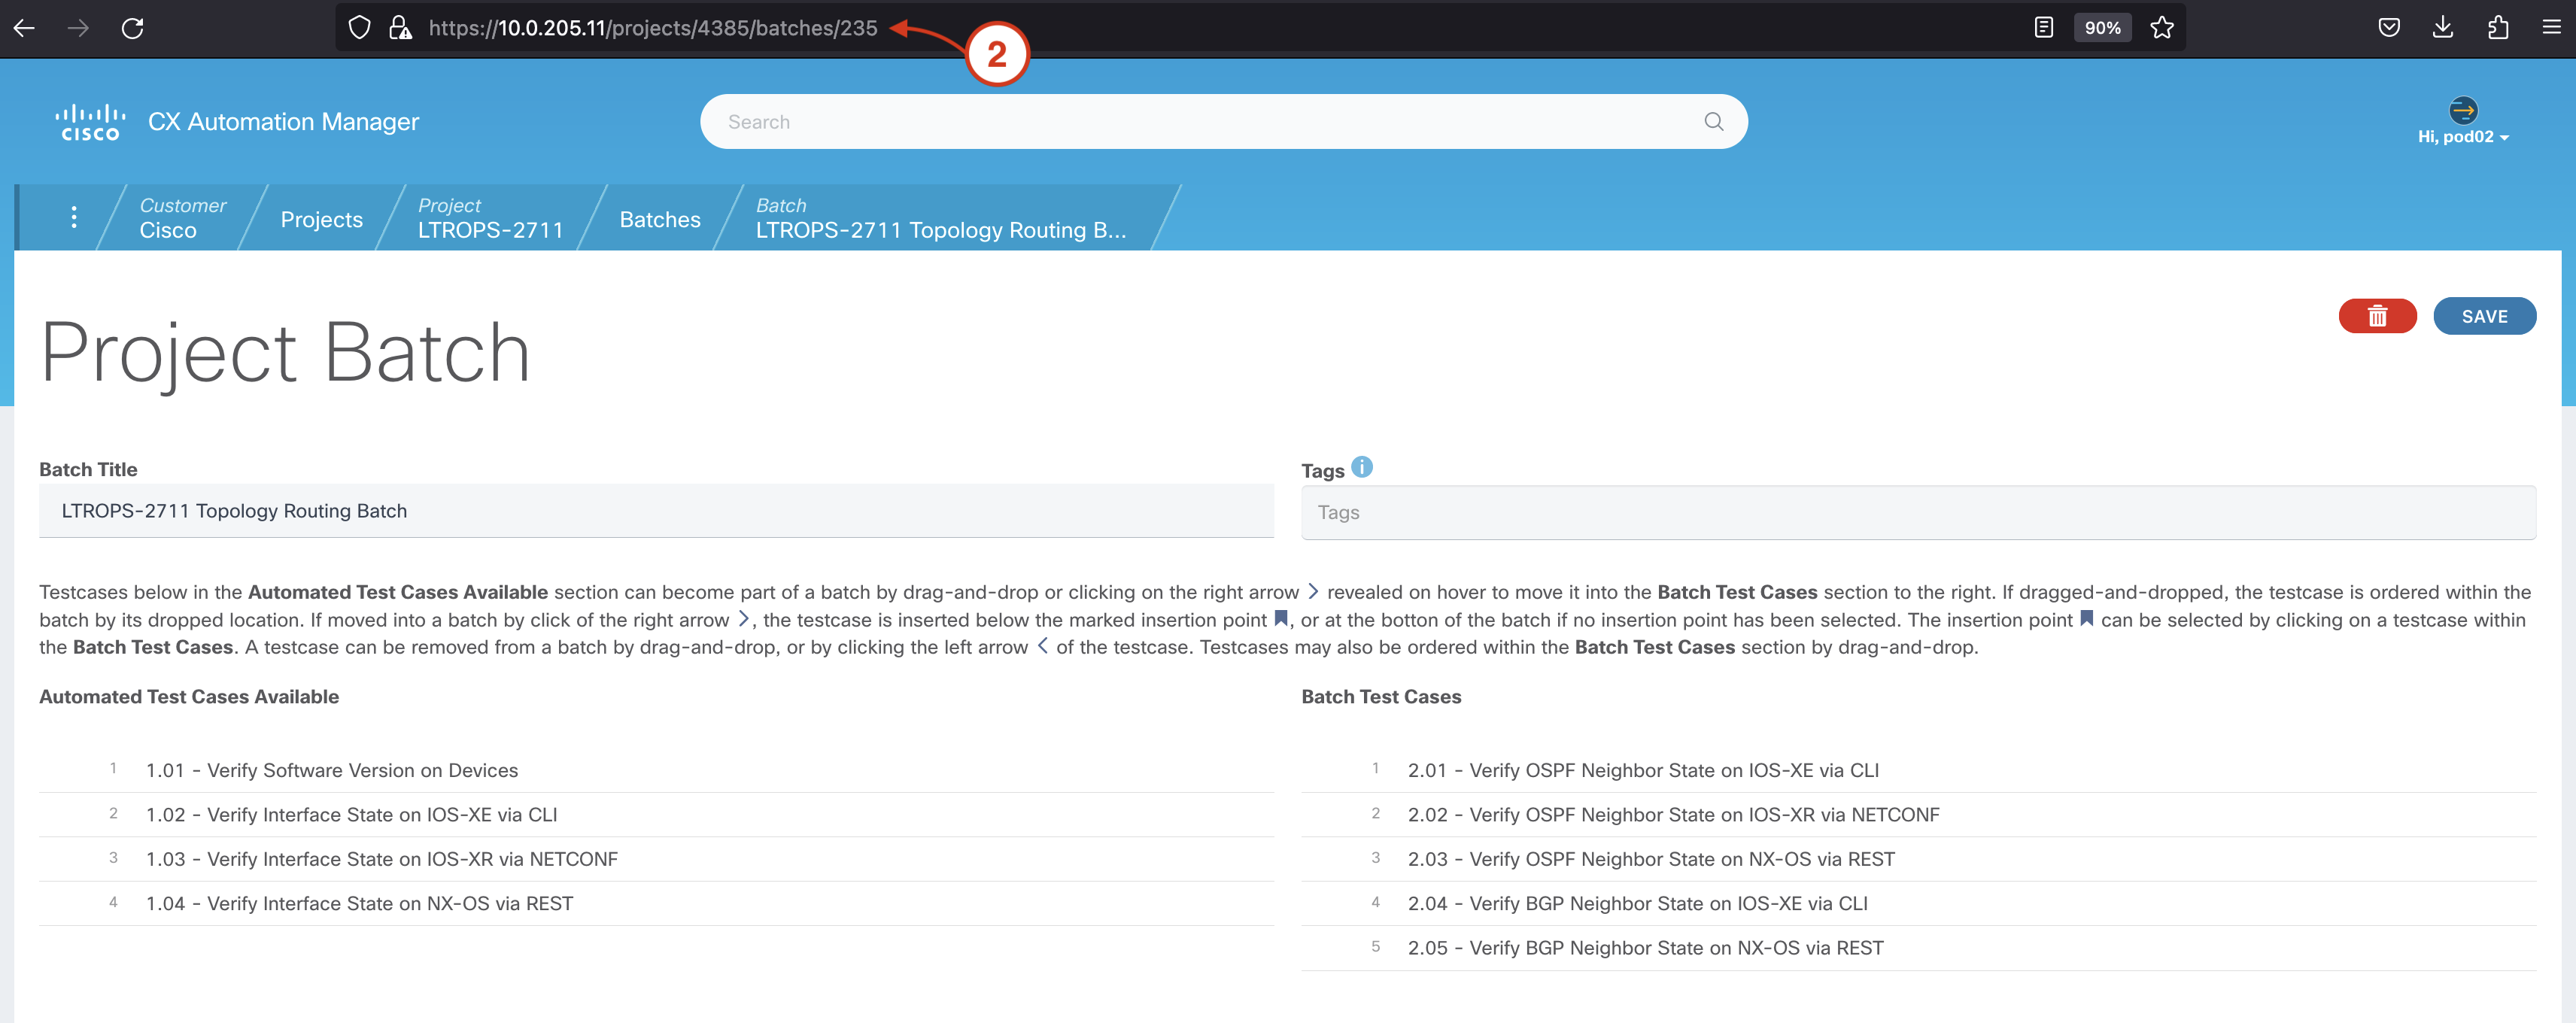
Click on the Edit button for the LTROPS-2711 Topology Routing Batch
Collect the batch ID for the LTROPS-2711 Topology Routing Batch directly from the URL ("235" in this example)
Copy this batch ID and return to the swagger page
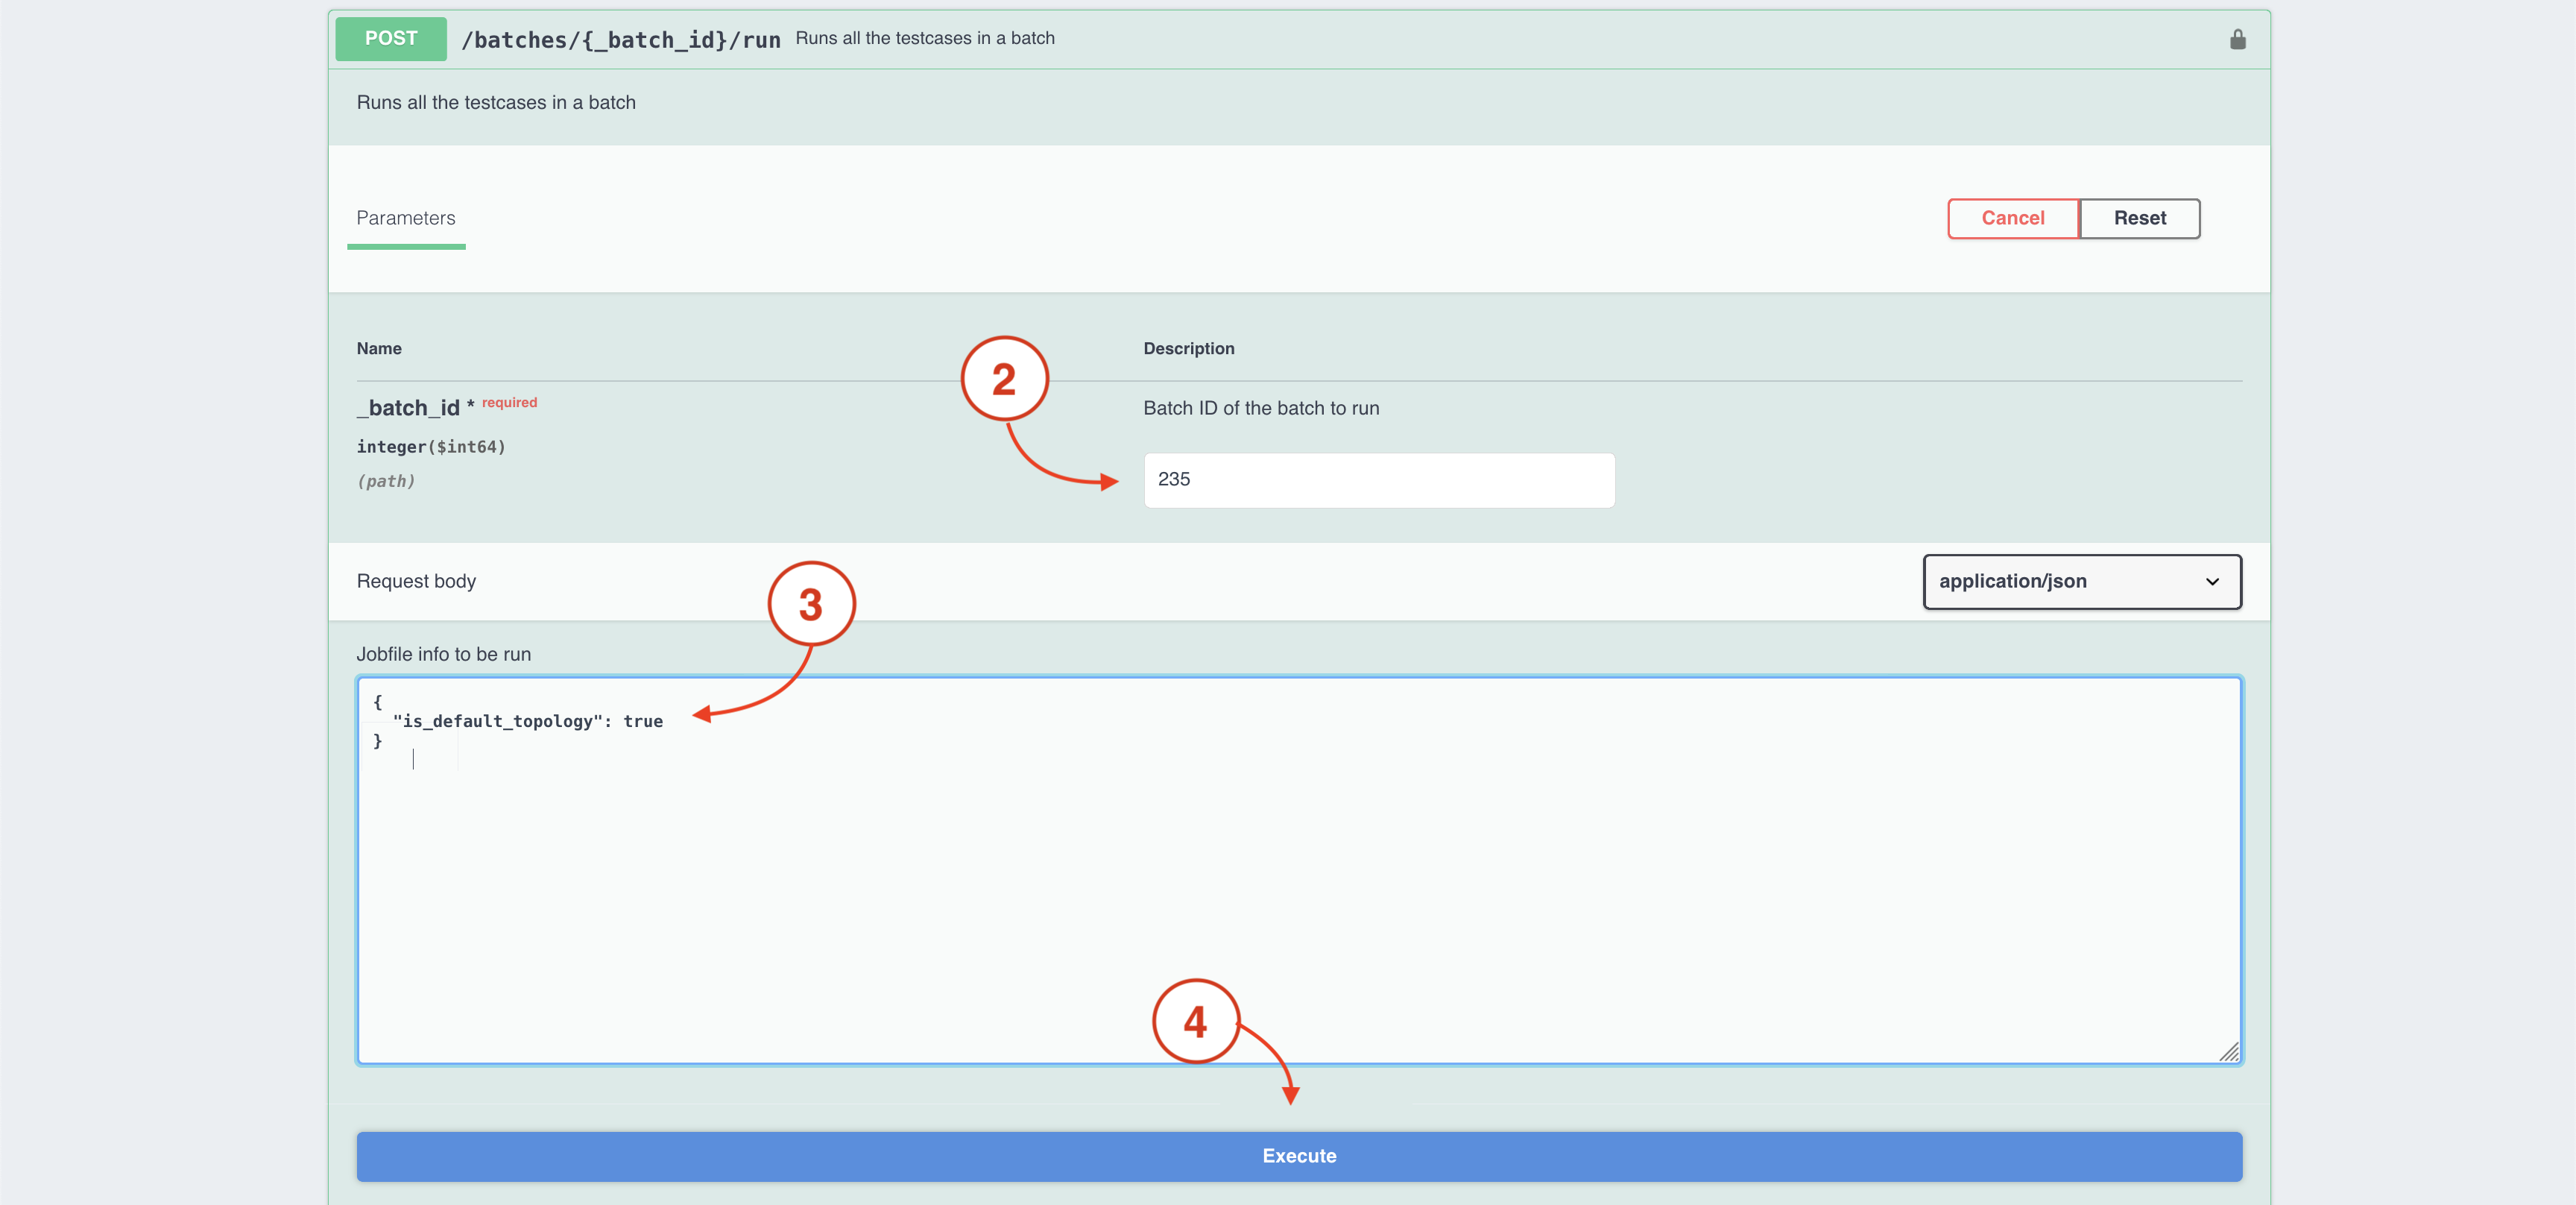
Step 7 - Execute the API call from swagger
From your the swagger page:
Click on the Try it out button for the the expanded /batches/{_batch_id}/run API endpoint
Enter the Batch ID into the Batch ID of the batch to run field
Copy the following JSON into the Jobfile info to be run field under the Request Body section in swagger:
{
  "is_default_topology": true
}
The "is_default_topology": true tells the pipeline to use the default topology (LTROPS-2711 Topology) that you set
for these test cases earlier in the lab.
Click the Execute button
Confirm that you received a 201 status Code.
Notice the Request URL provided. This is the same Request URL and request body used in your pipeline.
Return to your CXTM browser.
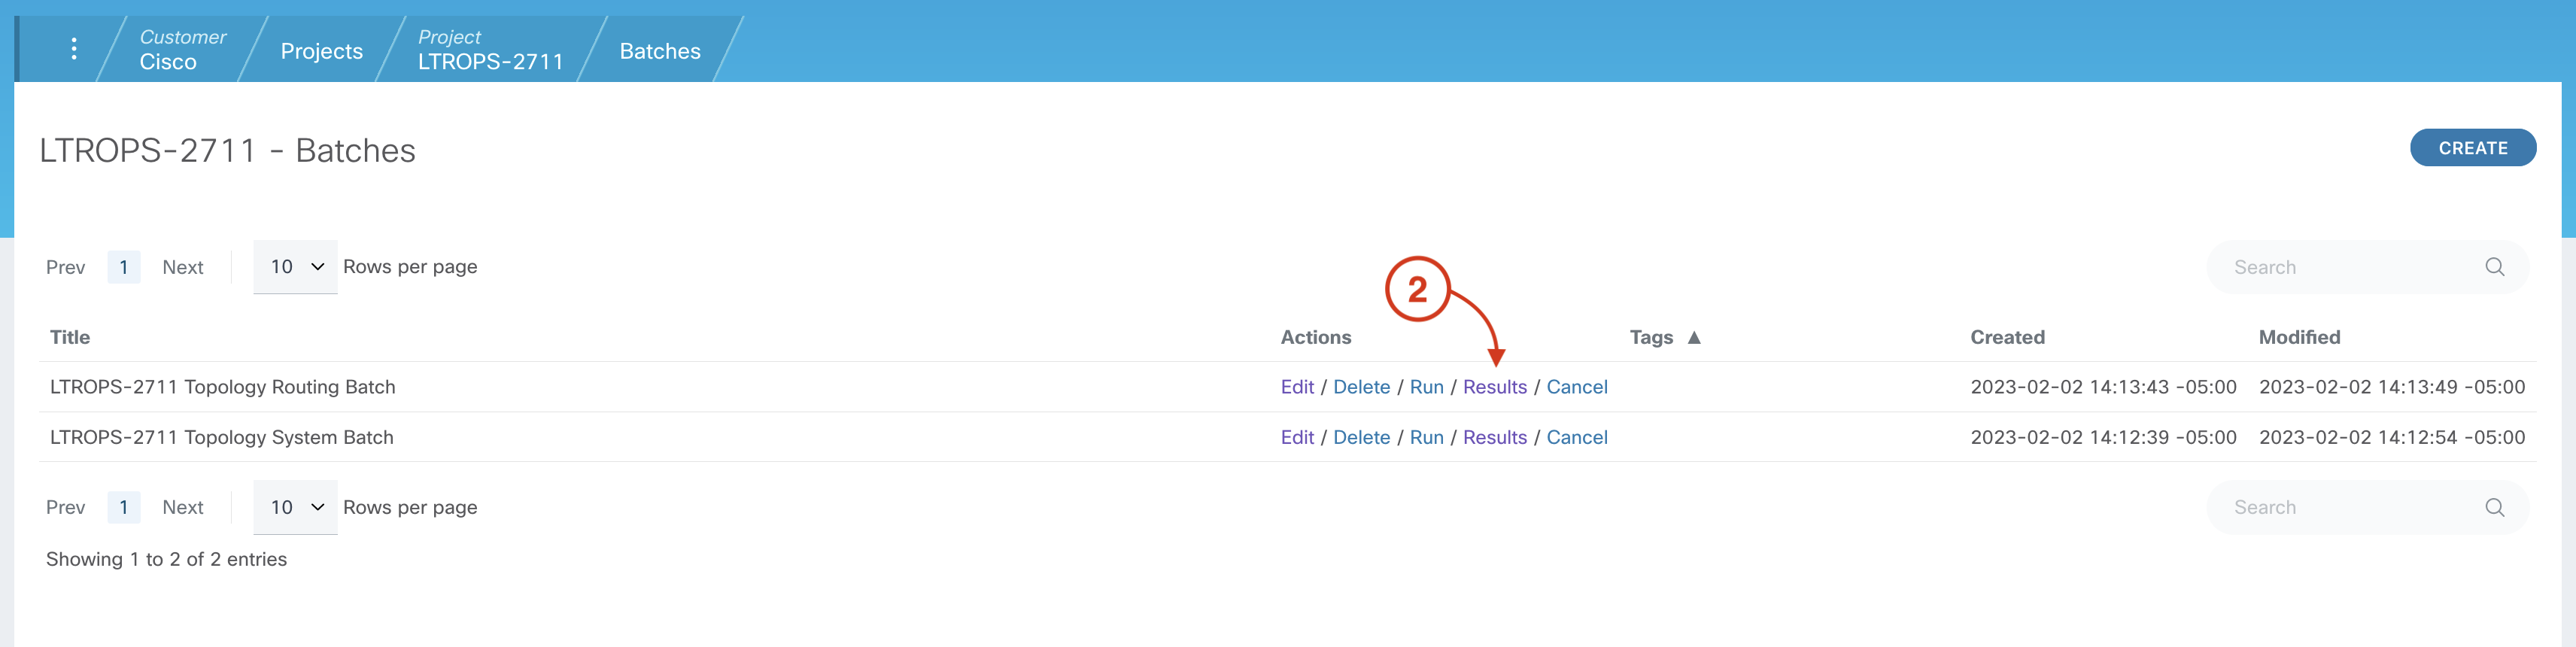
Step 8 - Return to your project Batches page
From the LTROPS-2711 Topology Routing Batch batch page:
Click on the Batches tab in the navigation breadcrumbs to return to the project Batches page
Click on the Results link for the LTROPS-2711 Topology Routing Batch batch
Confirm that the test case belonging to the LTROPS-2711 Topology Routing Batch batch are running
Continue to the next section to explore CXTM's secret environment variables feature.